DocuSign
Setting Up the Integration
Log in to your DocuSign account.
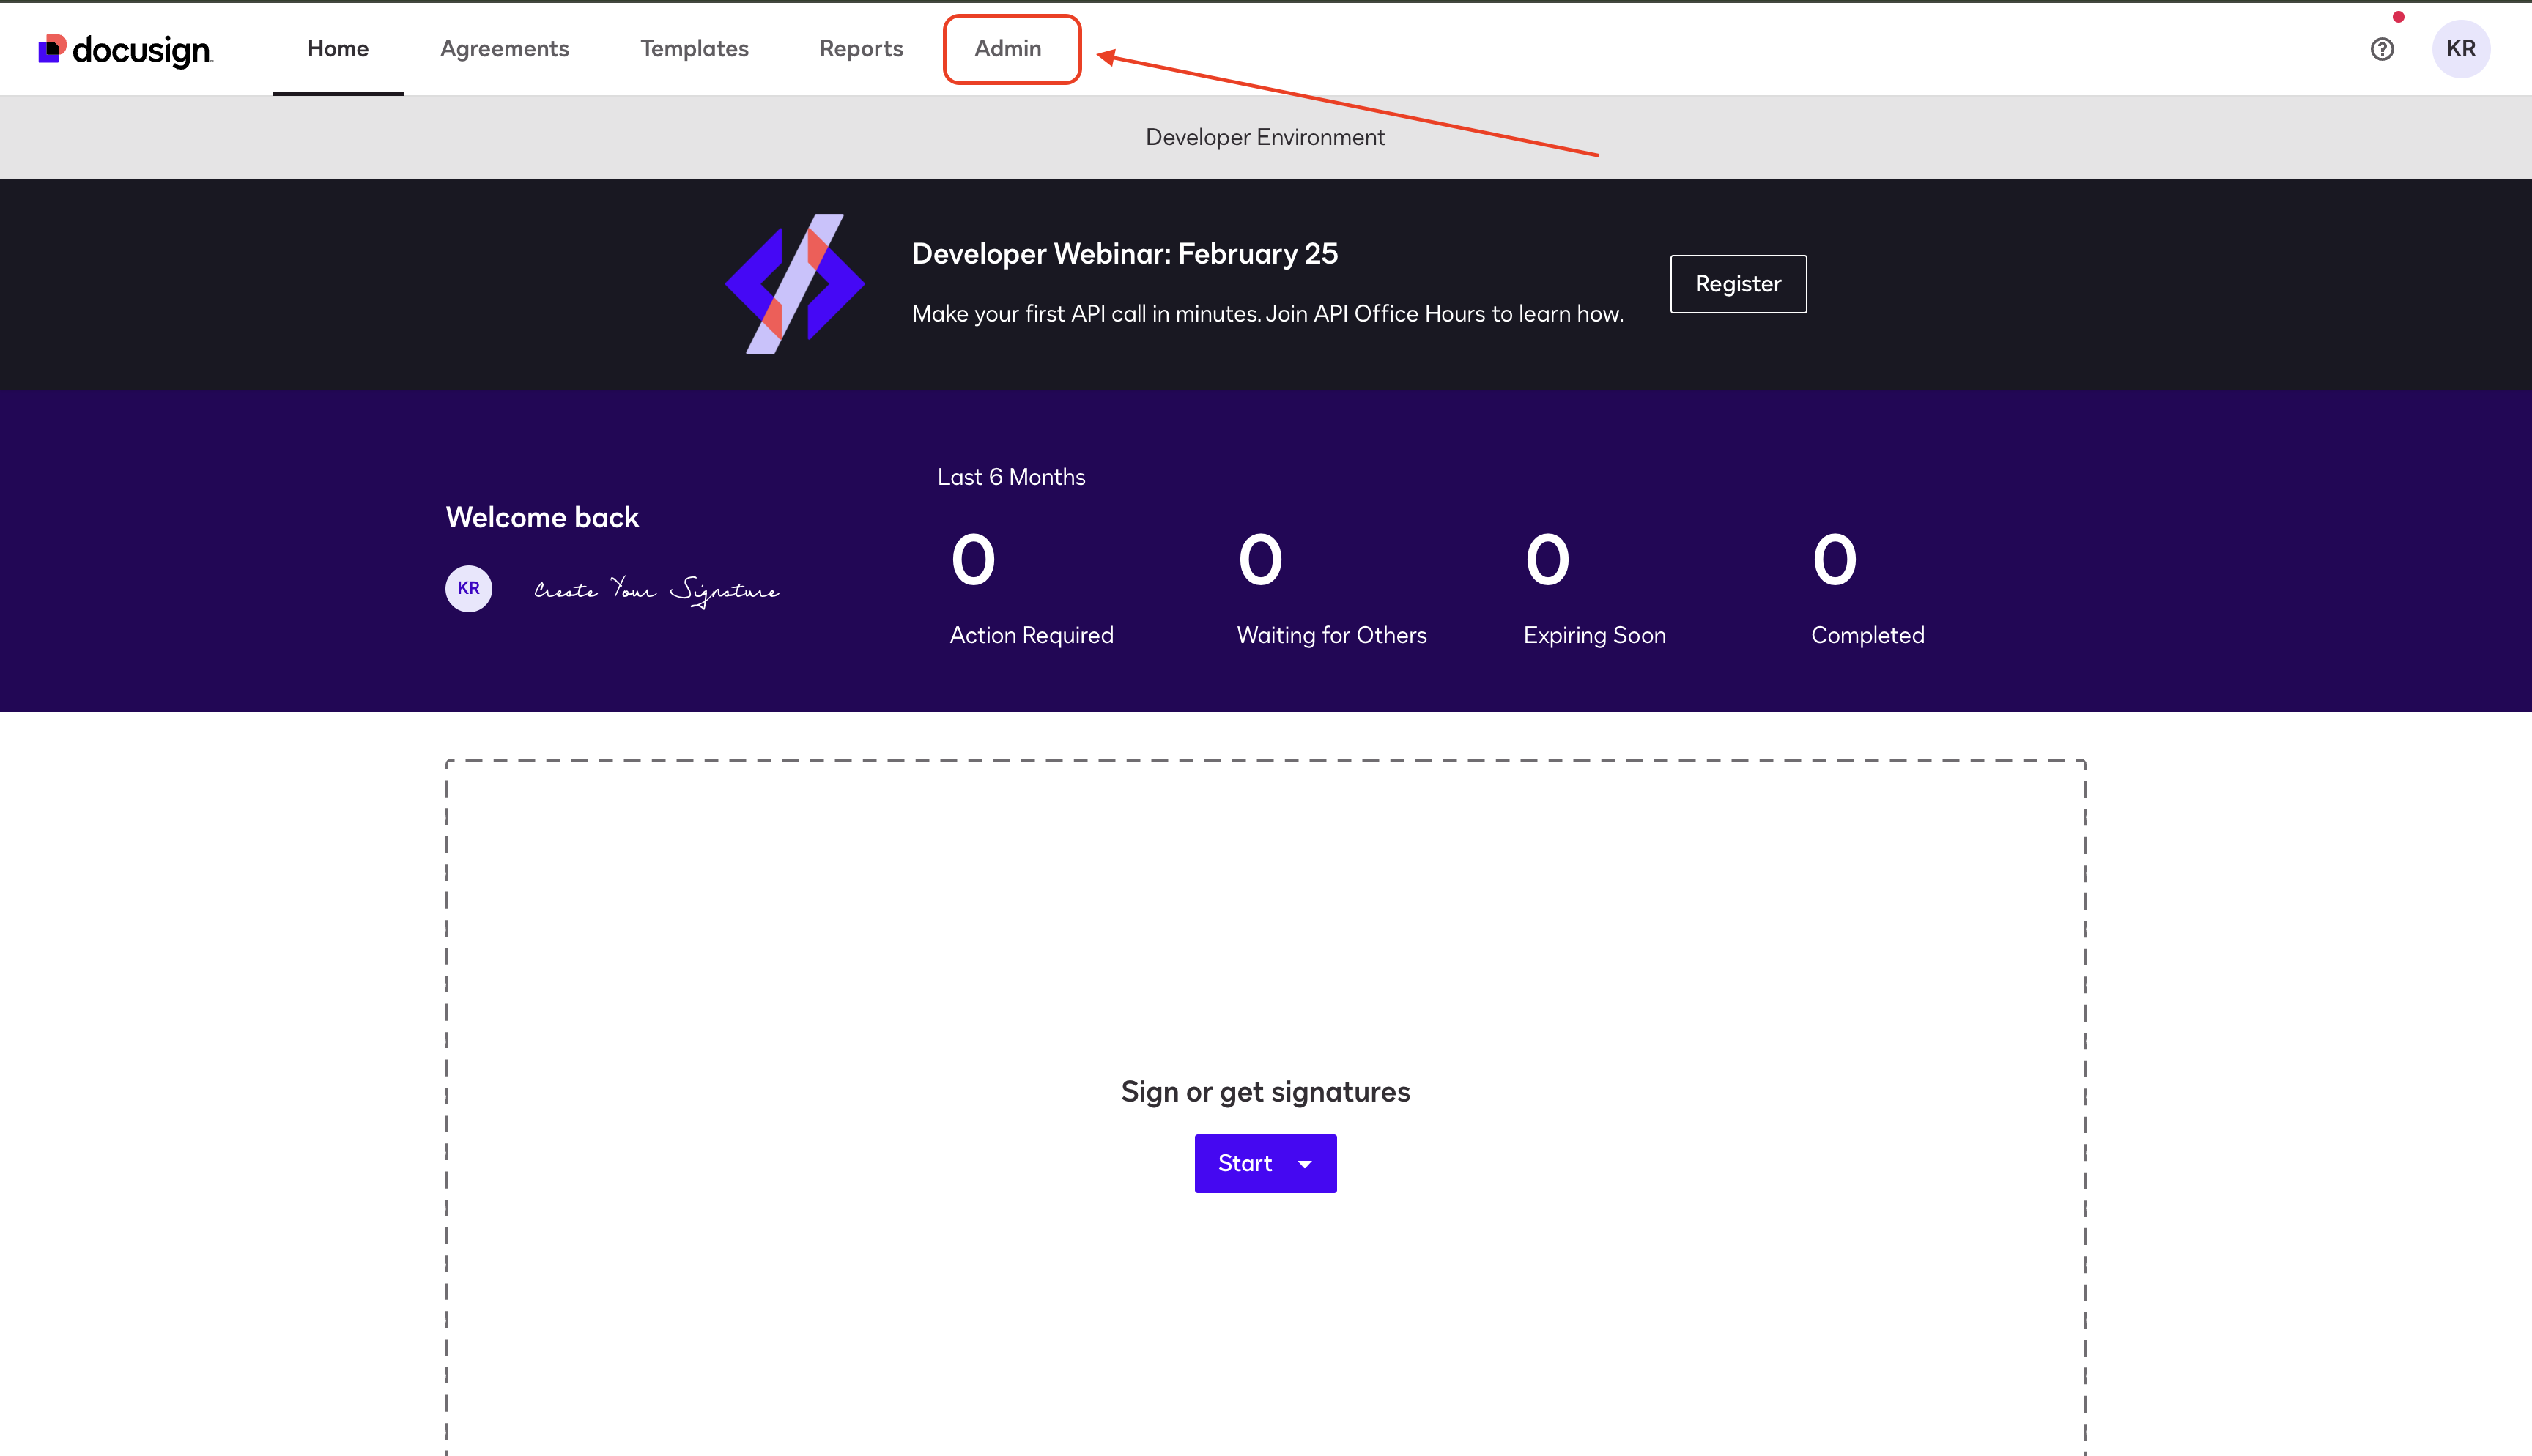
Click "Admin" in the top navigation bar.
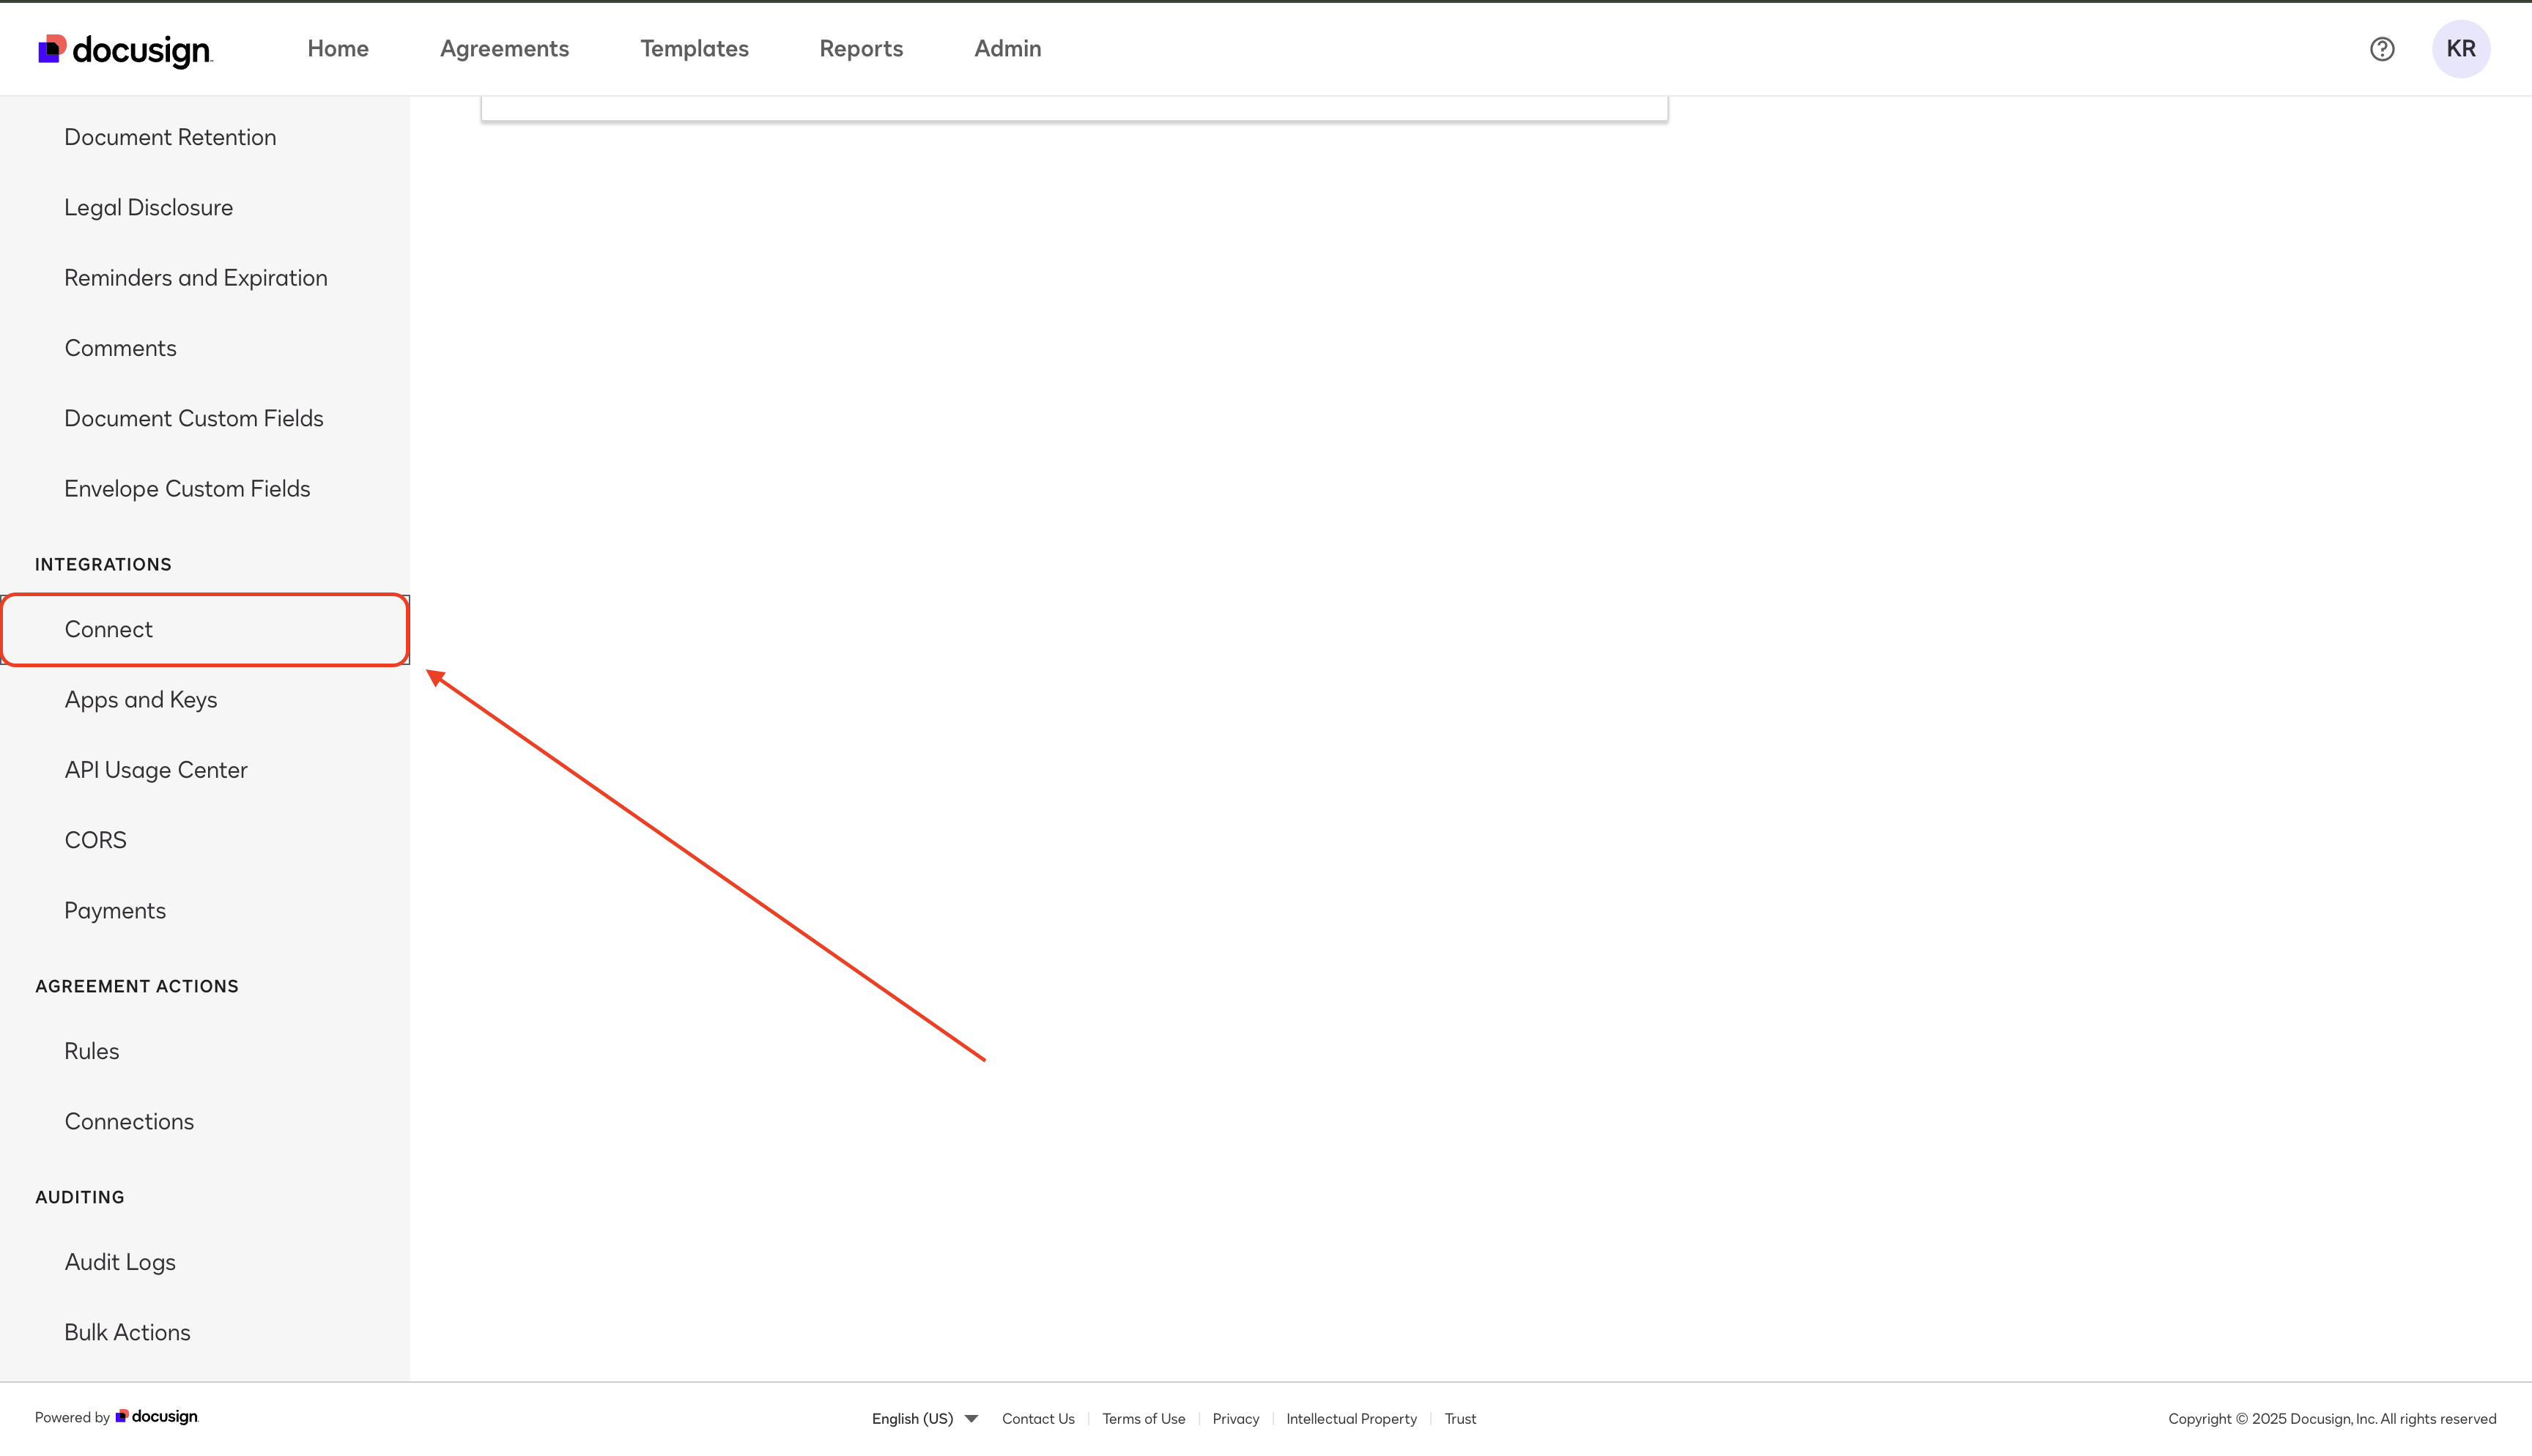
In the Left Sidebar, scroll to the bottom and locate the "Integrations Menu." Click "Connect."
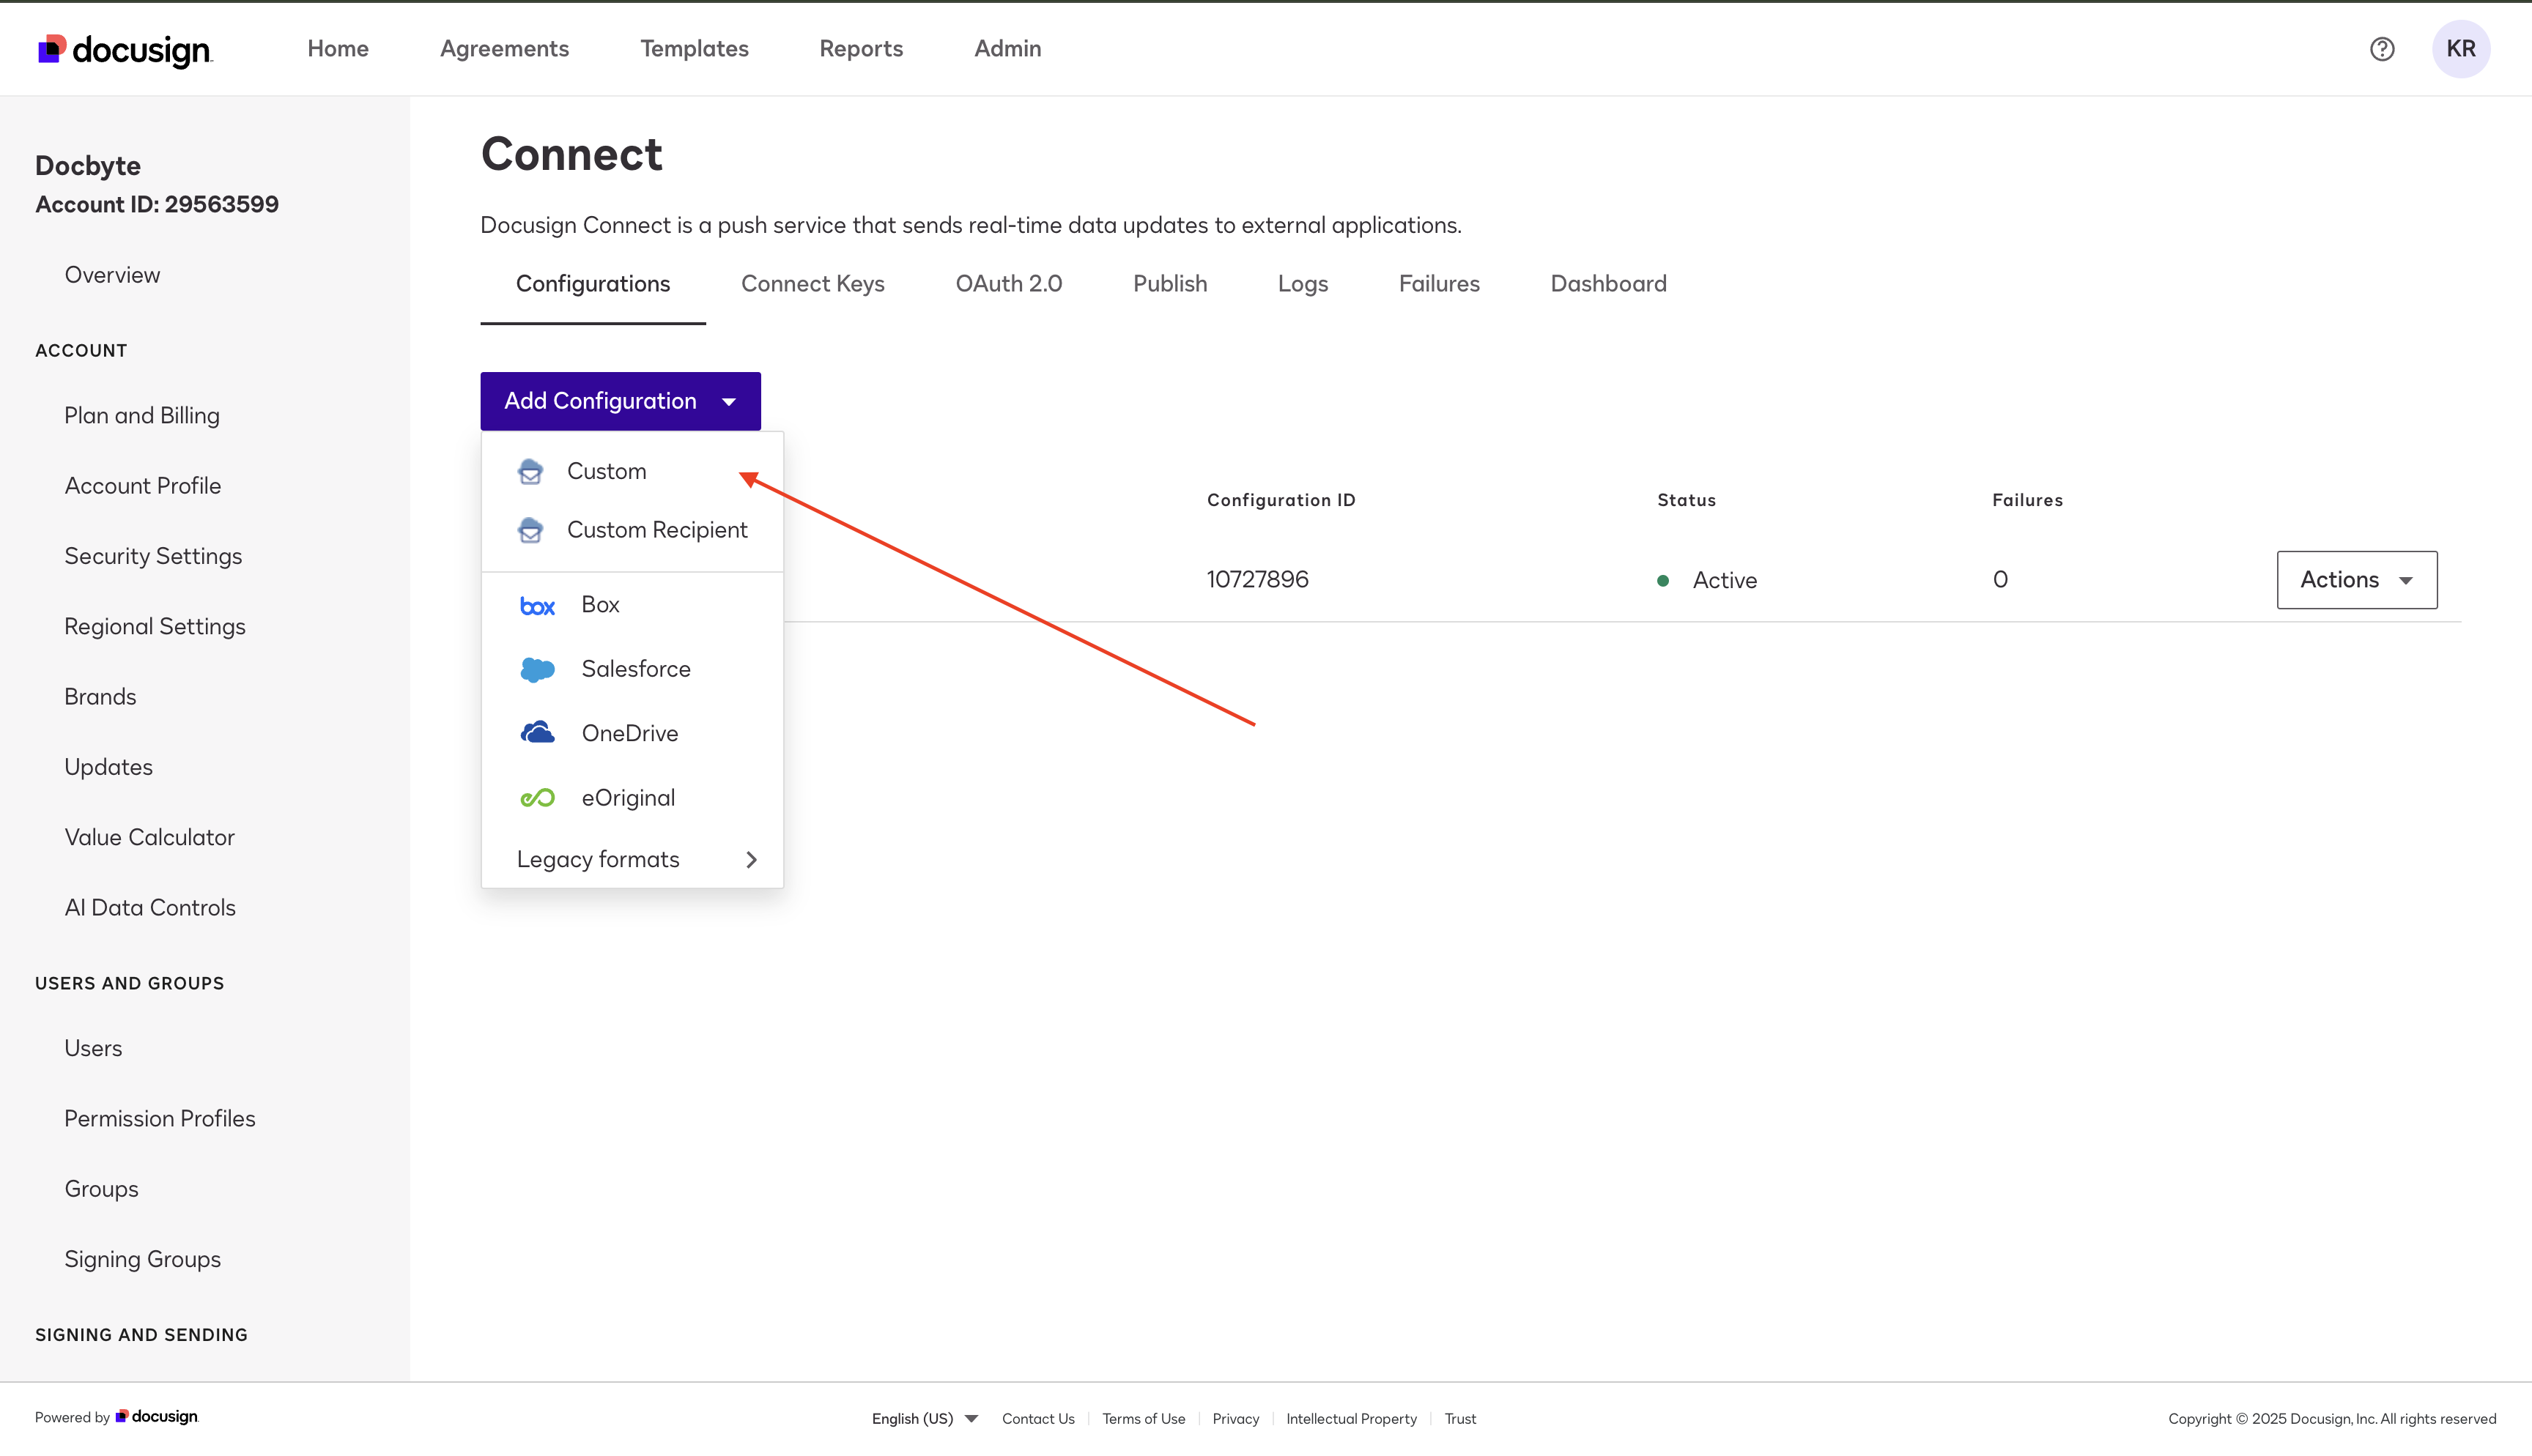
Click "Add Configuration", then select "Custom."
Listener Settings
Set Status to "Active Connection."
Enter any value for Name.
The URL to Publish will be provided by Docbyte.
Check the boxes for "Enable Log" and "Require Acknowledgement."
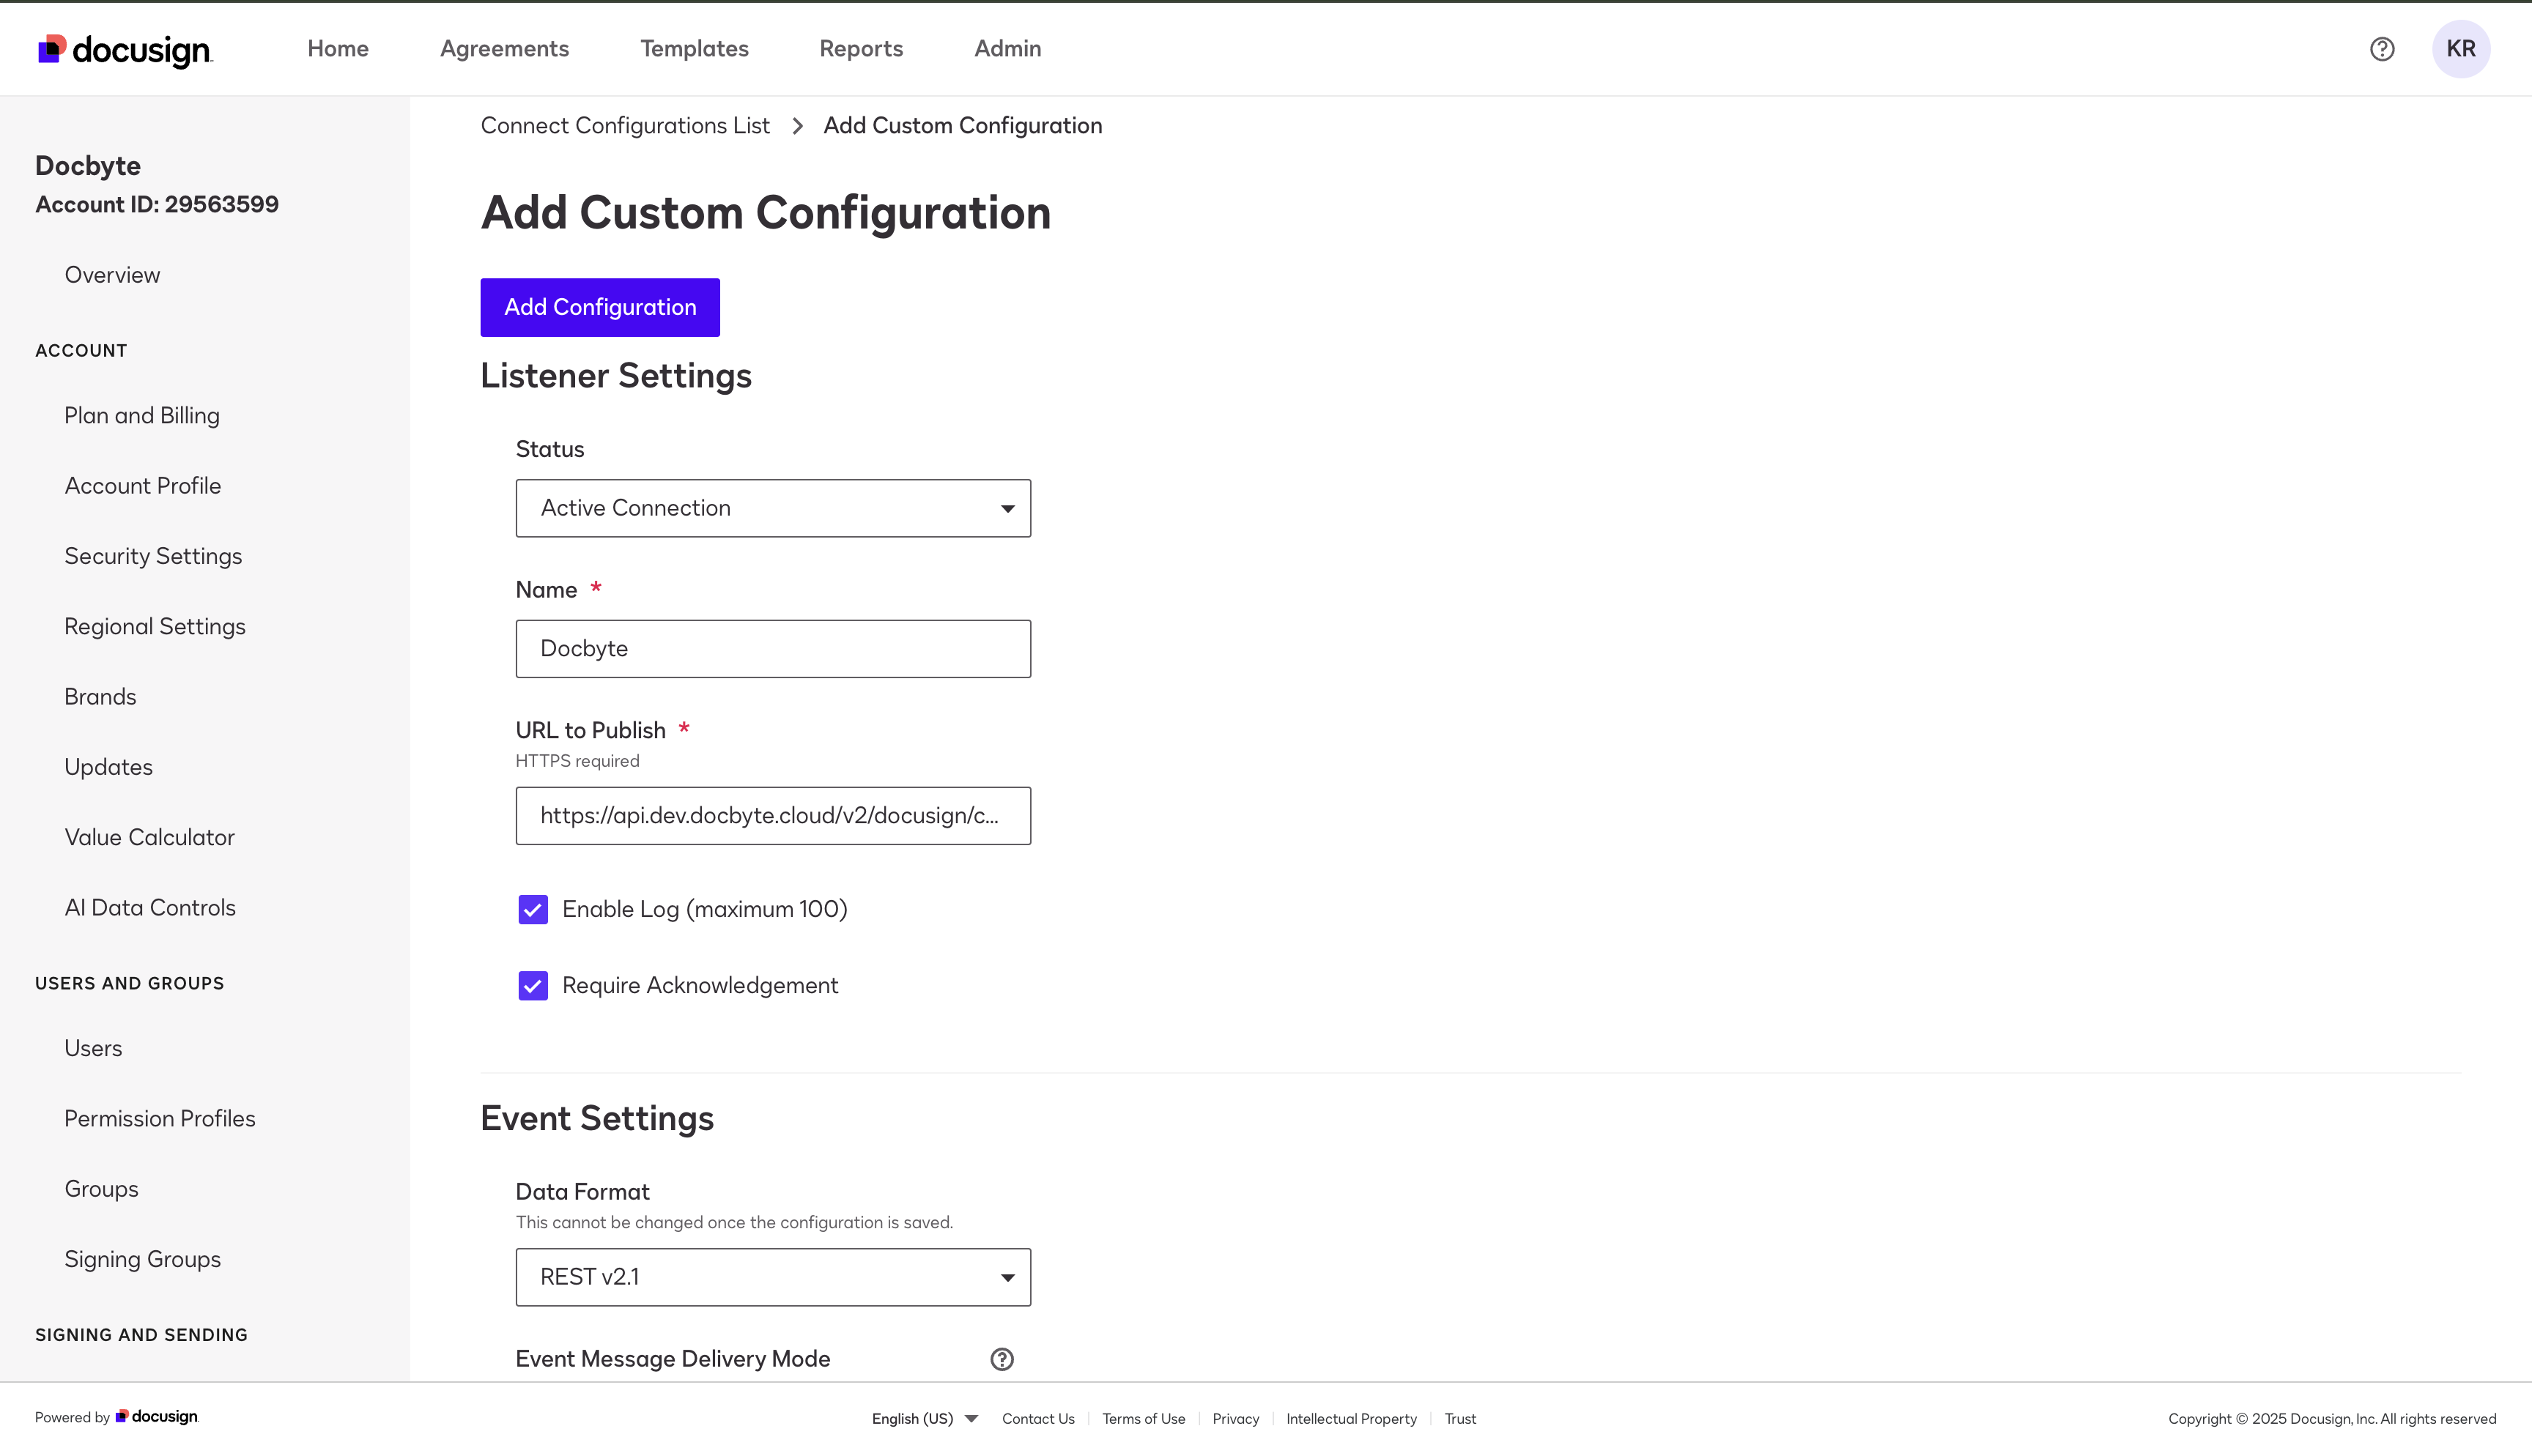
Event Settings
Keep Data Format set to REST v2.1.
Set Event Message Delivery Mode to "Send Individual Messages."
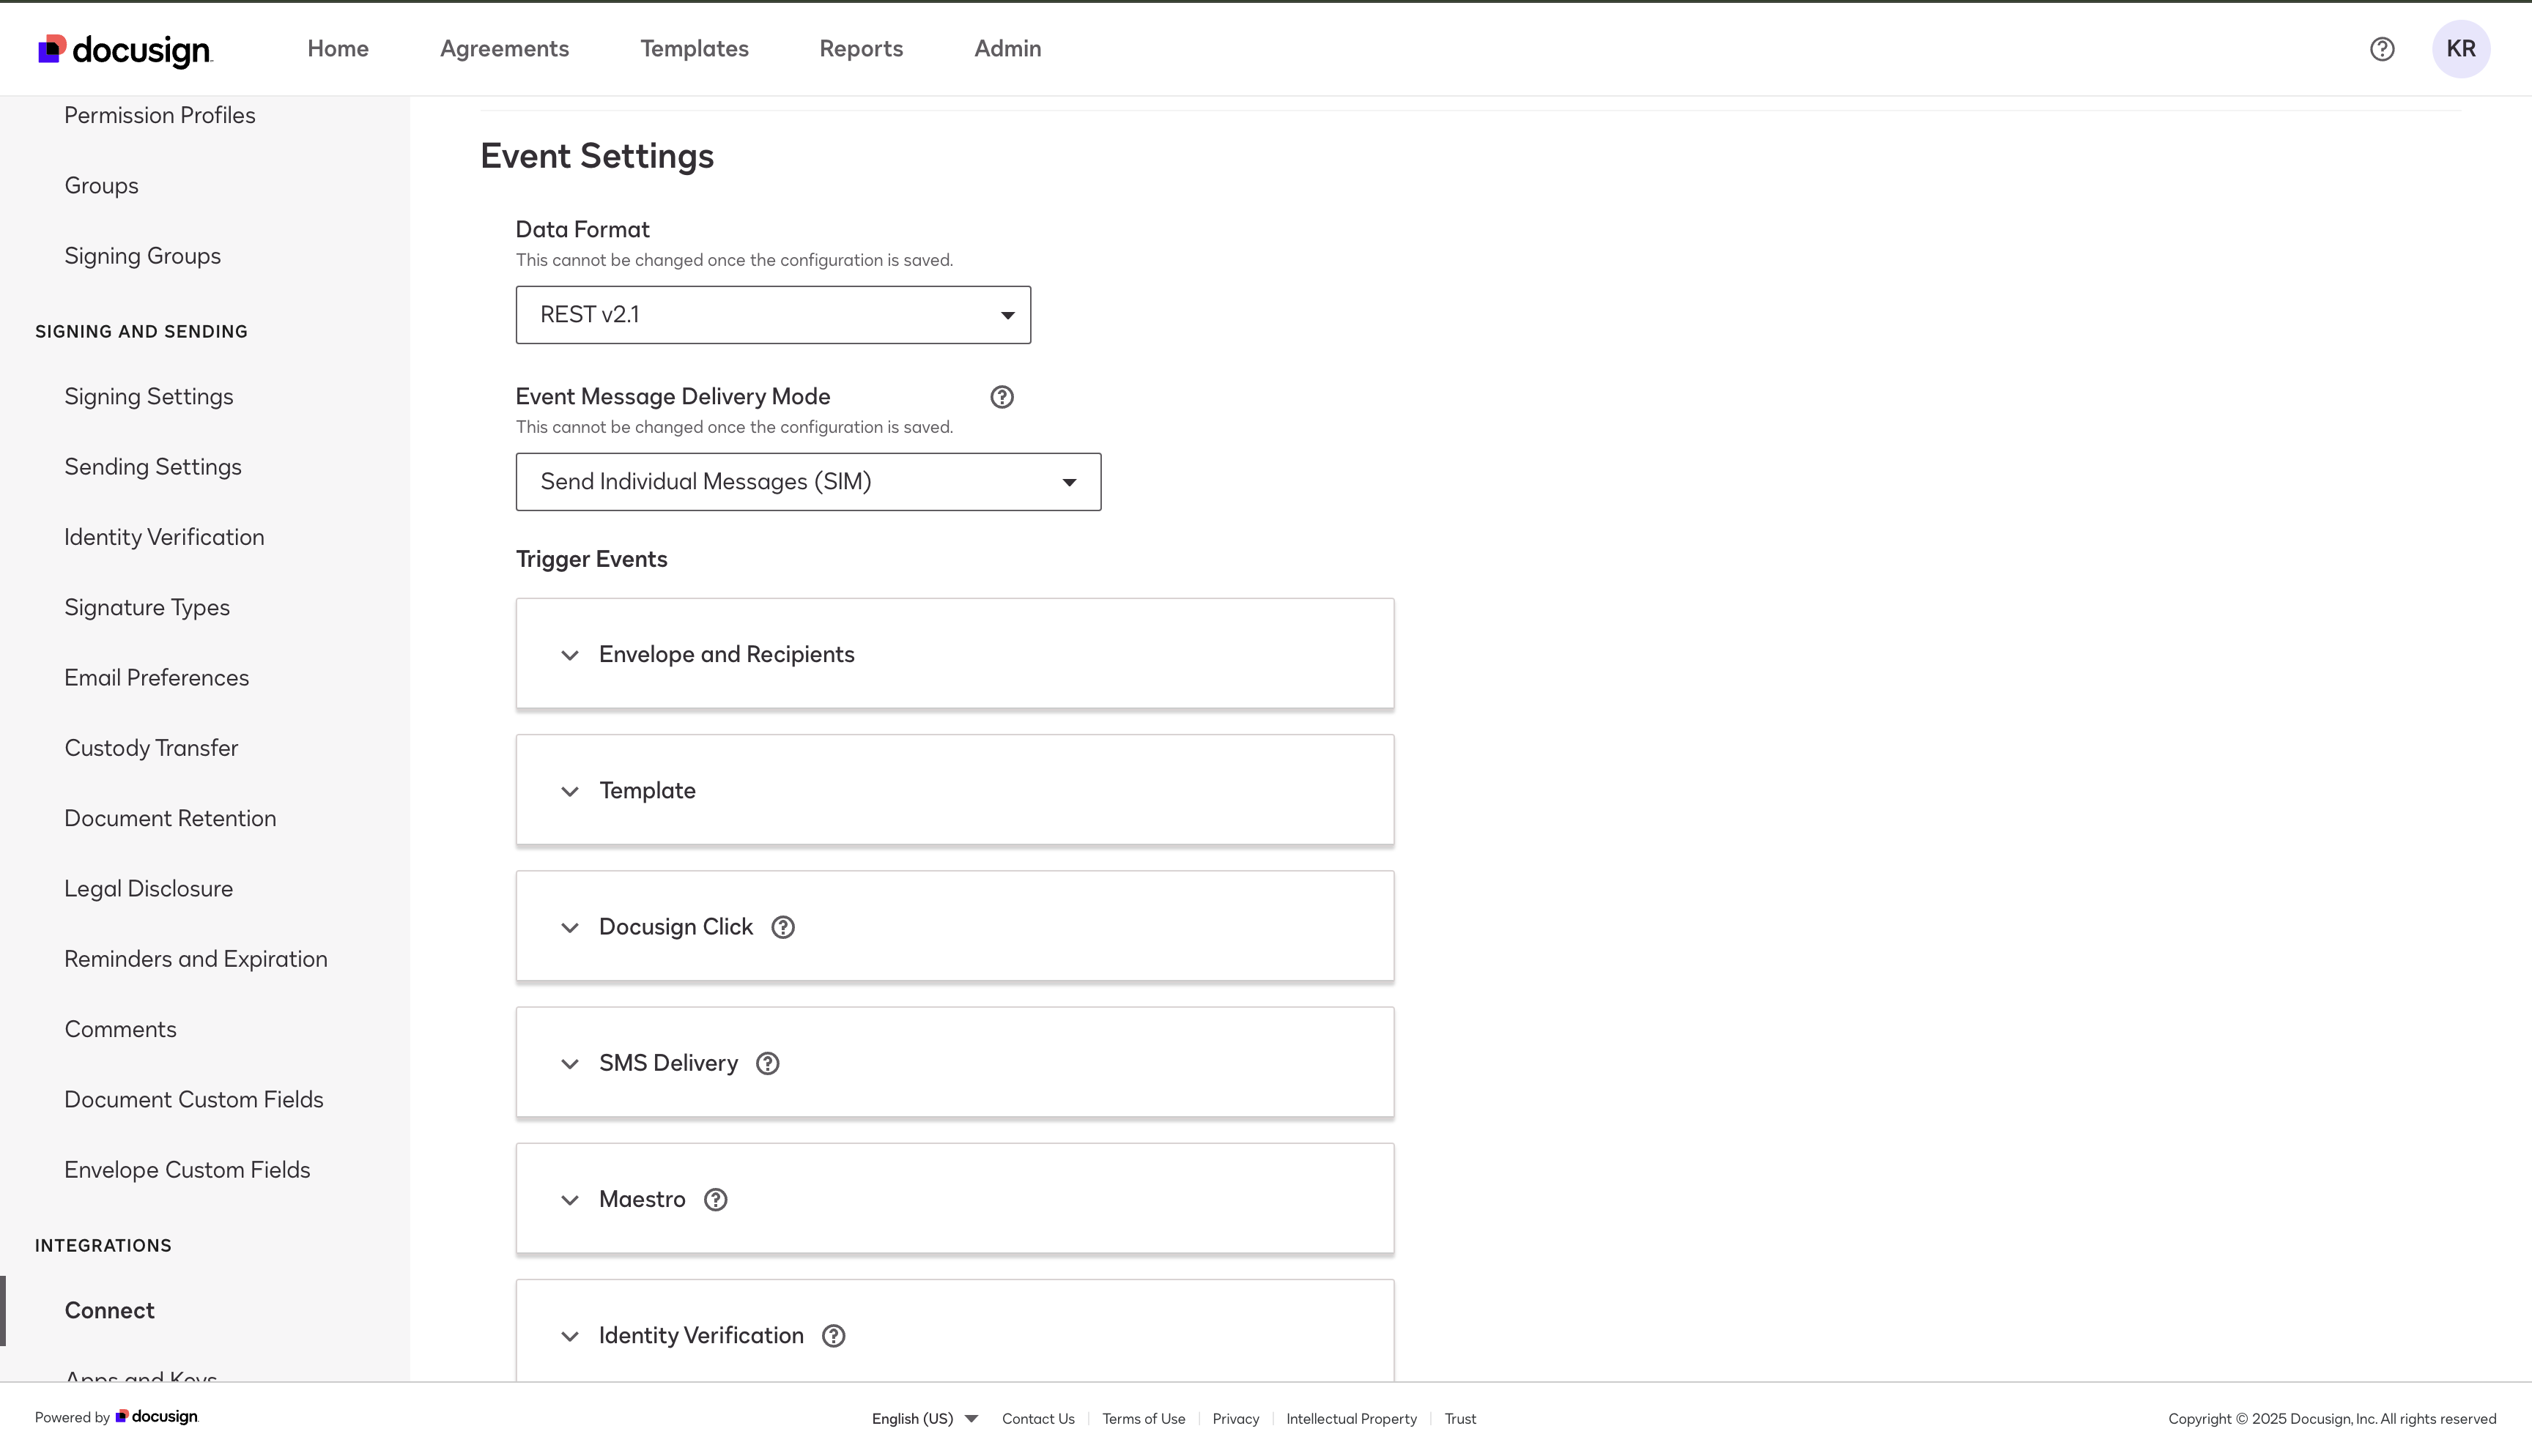
Under Trigger Events, select "Envelope Signed / Completed."
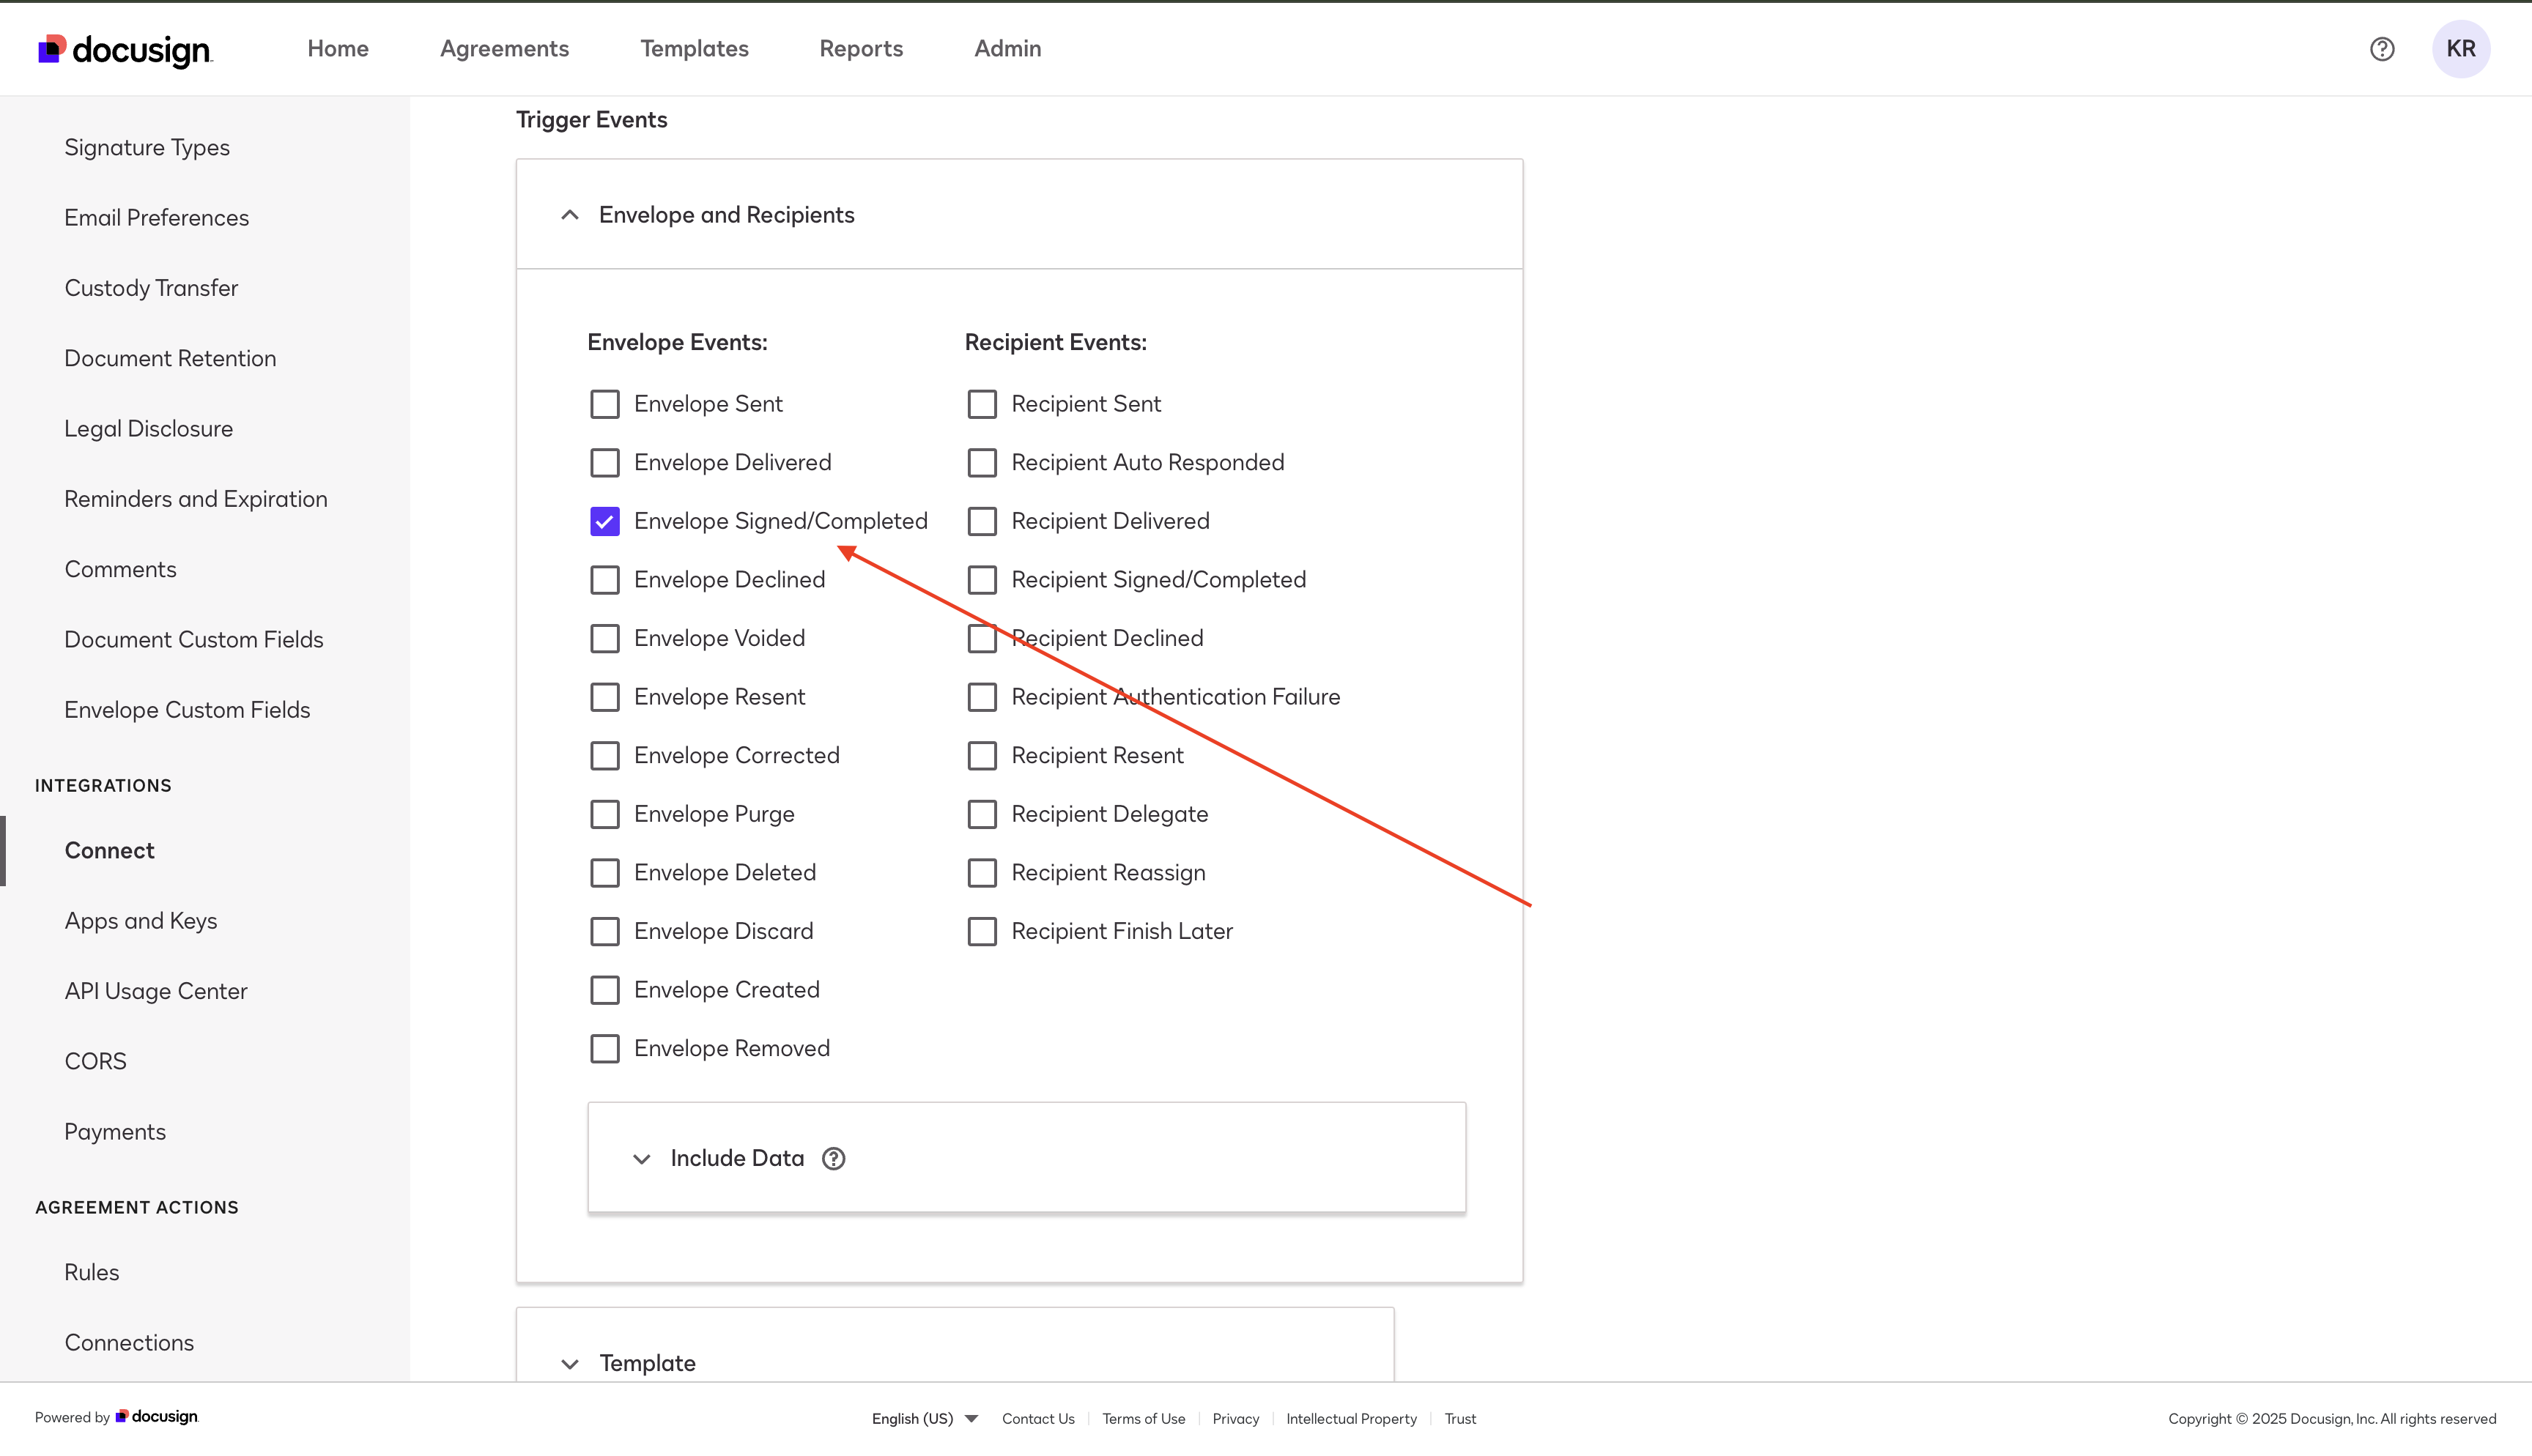
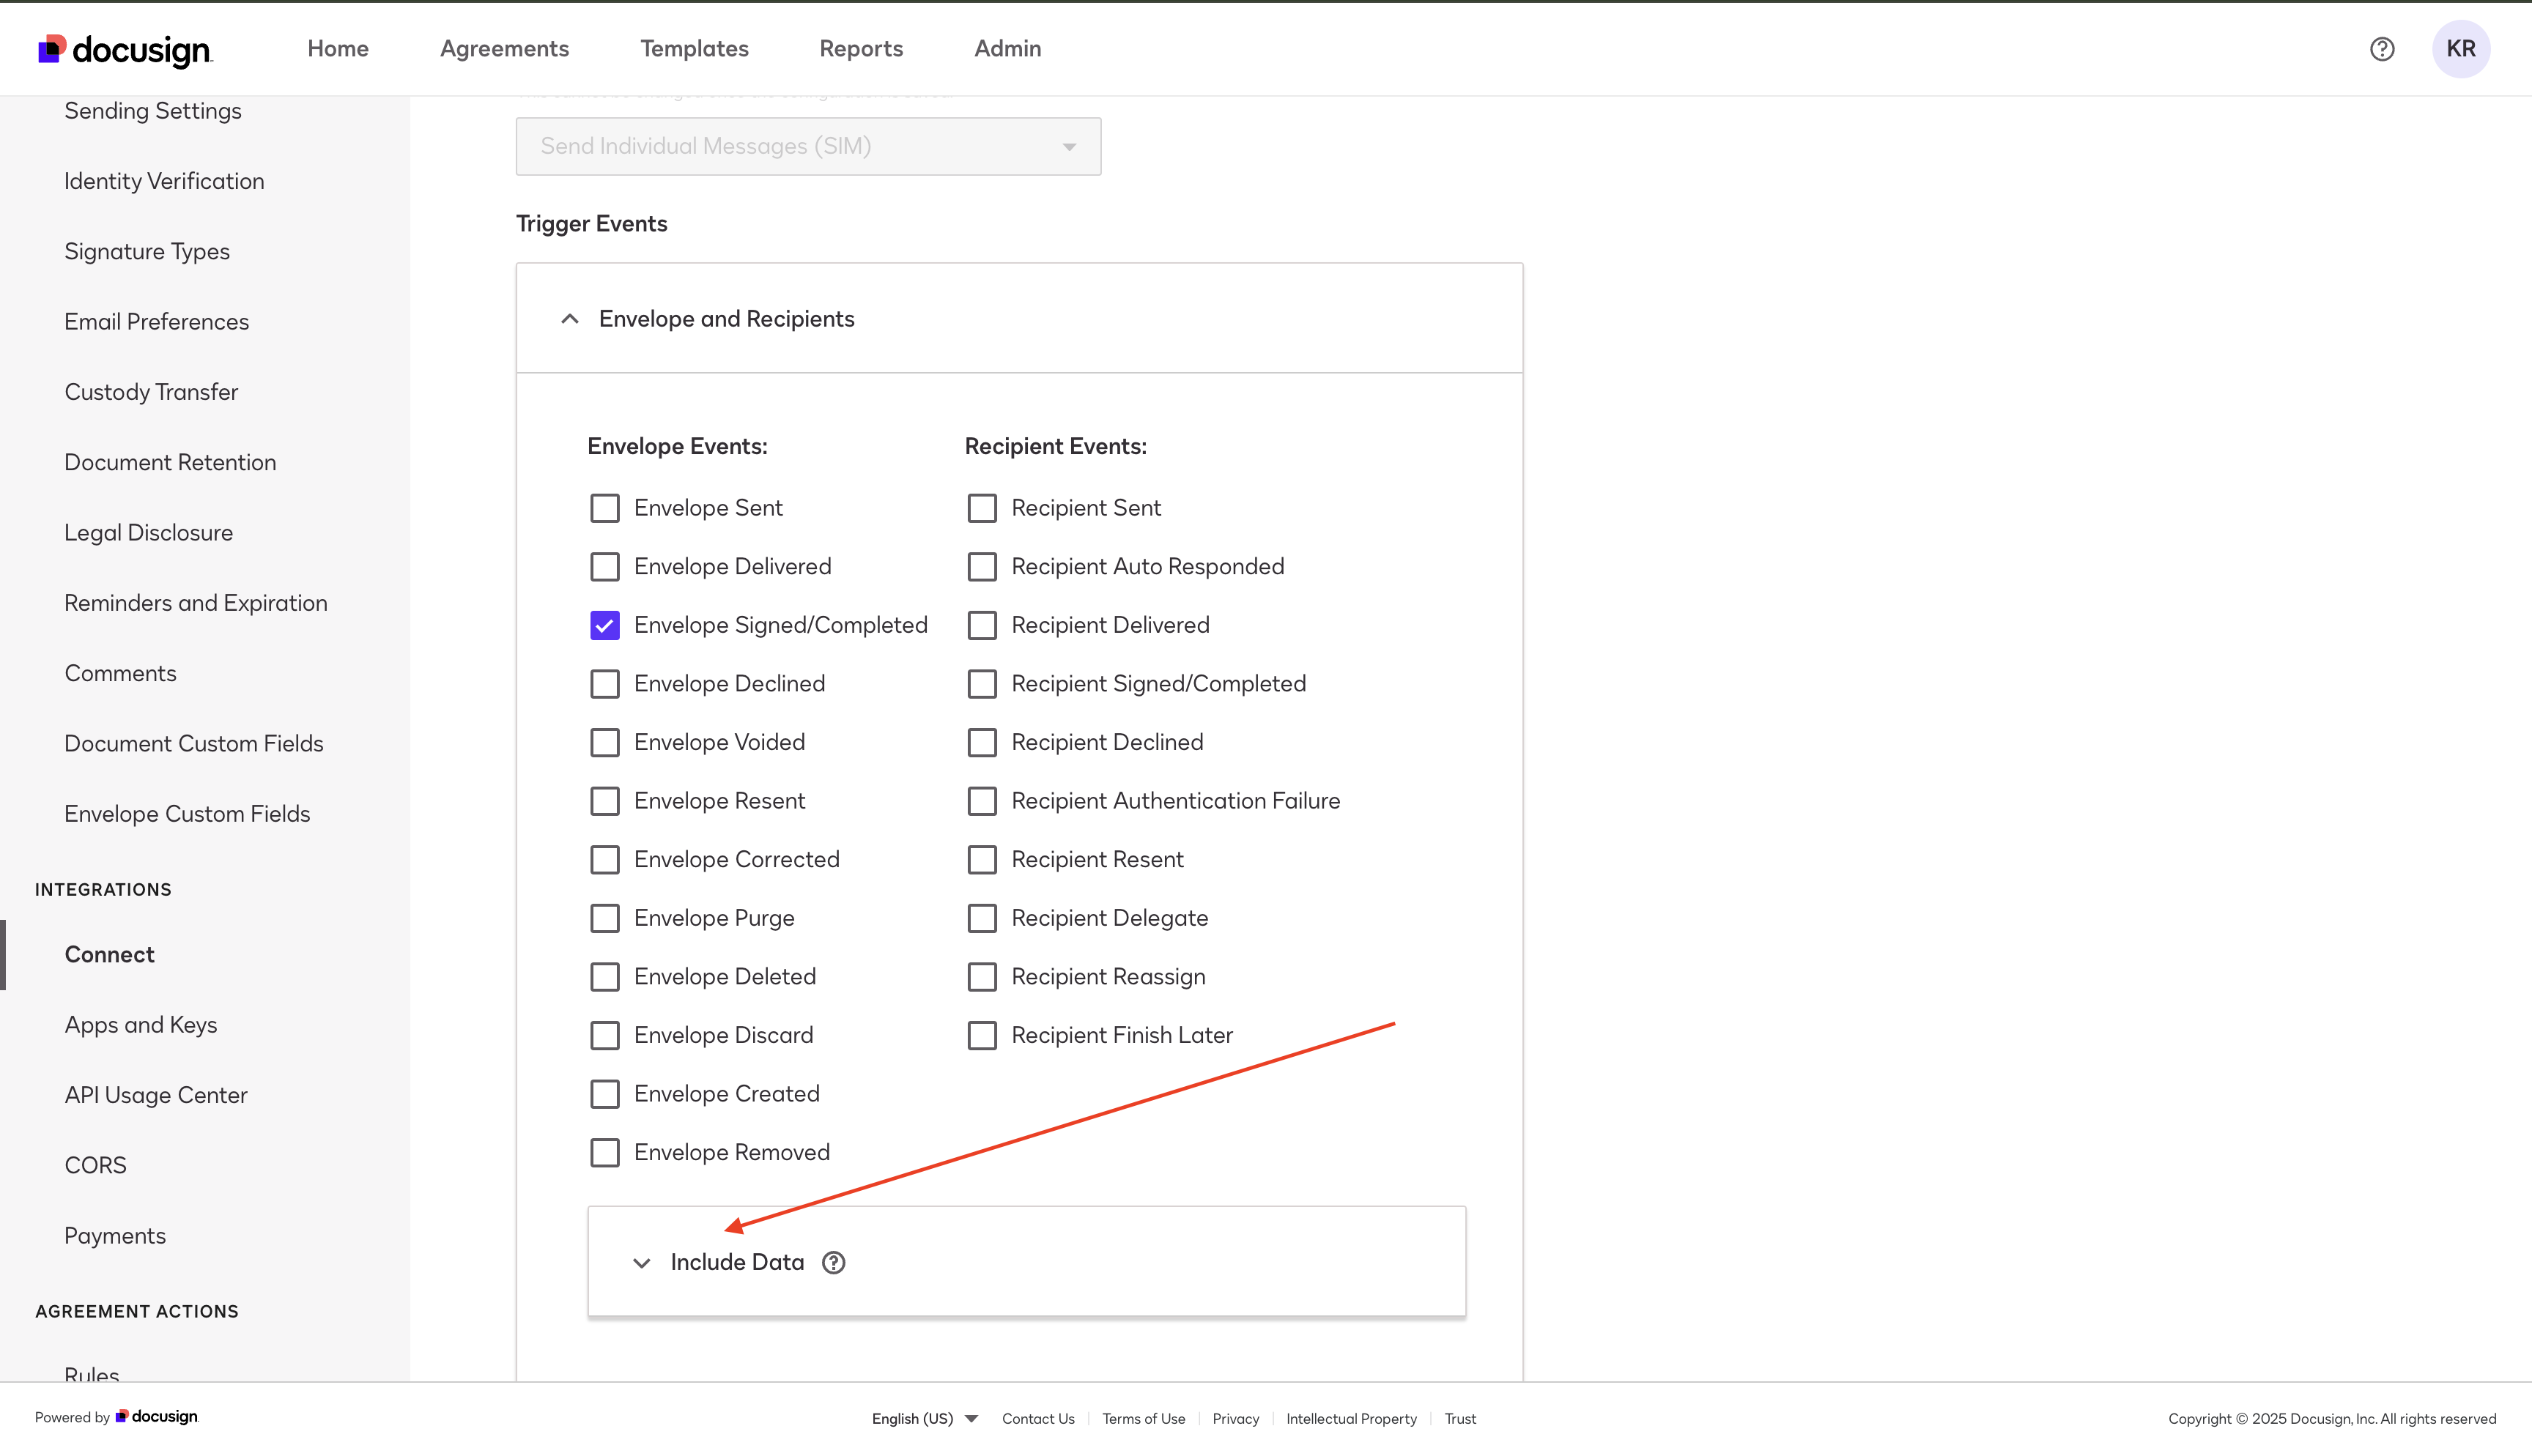
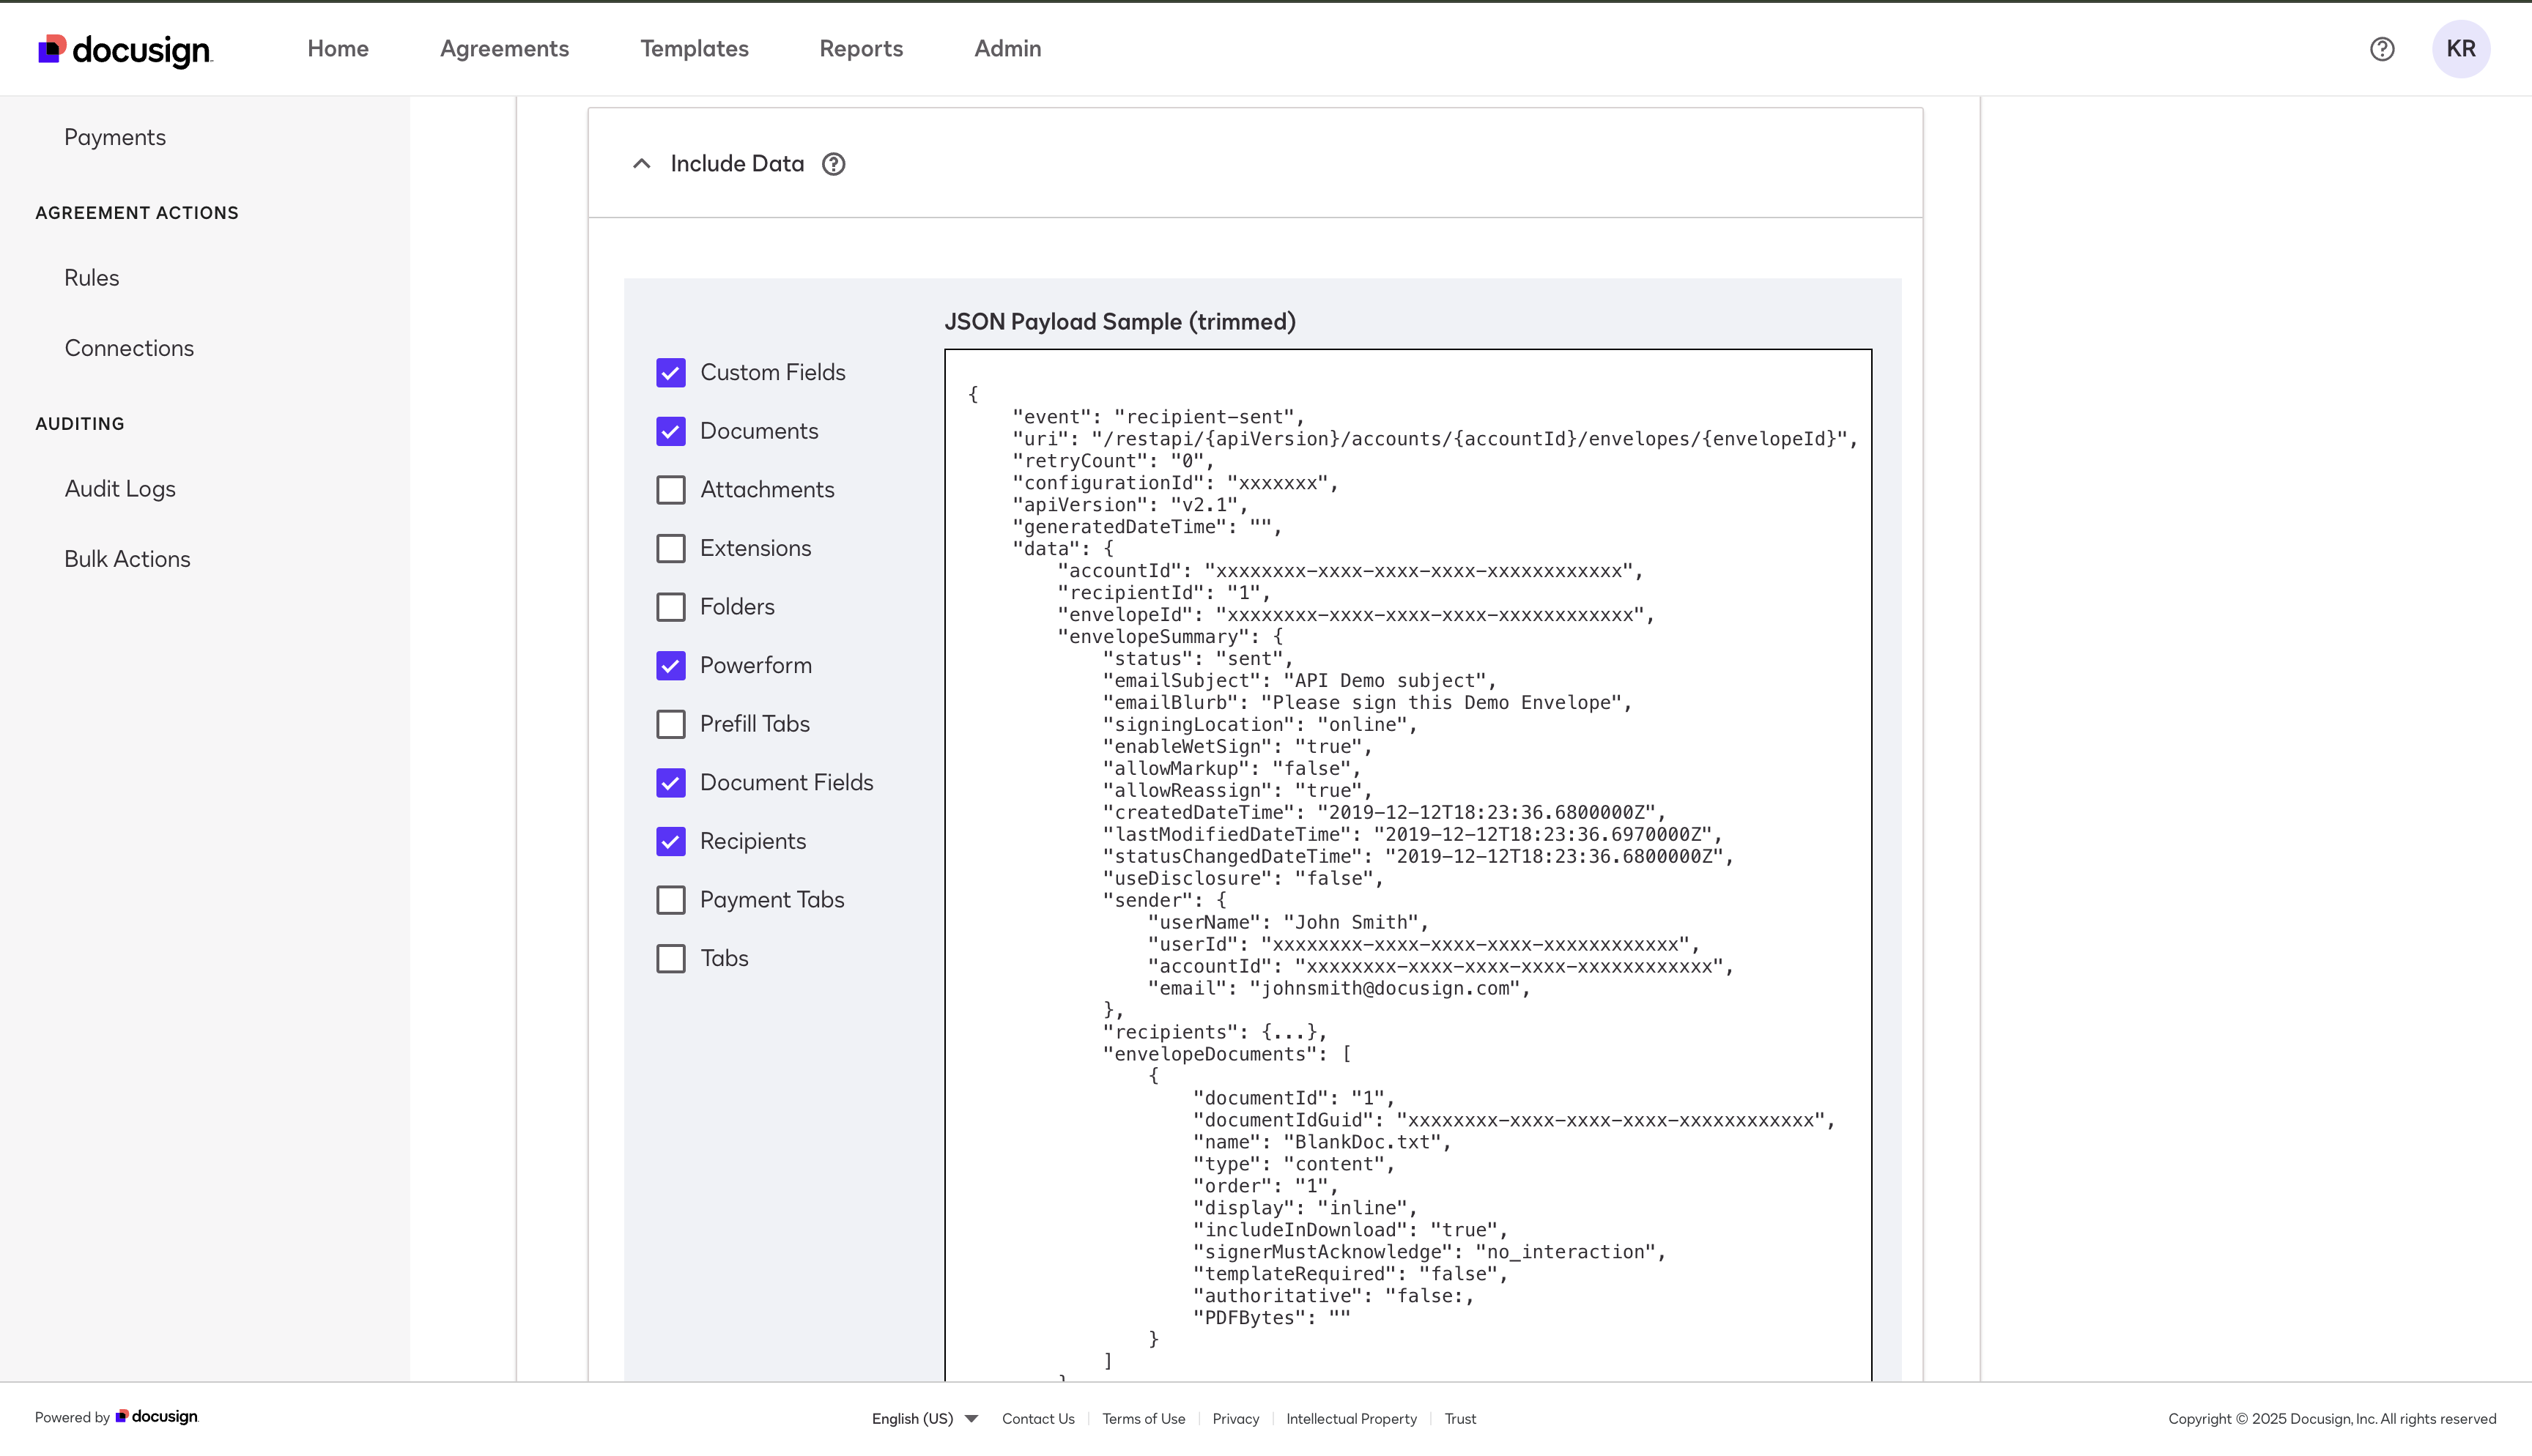
Scroll down to the "Include Data" tab, open it, and select:
Custom Fields
Documents
PowerForm
Document Fields
Recipients
In Integration and Security Settings, check "Include OAuth."
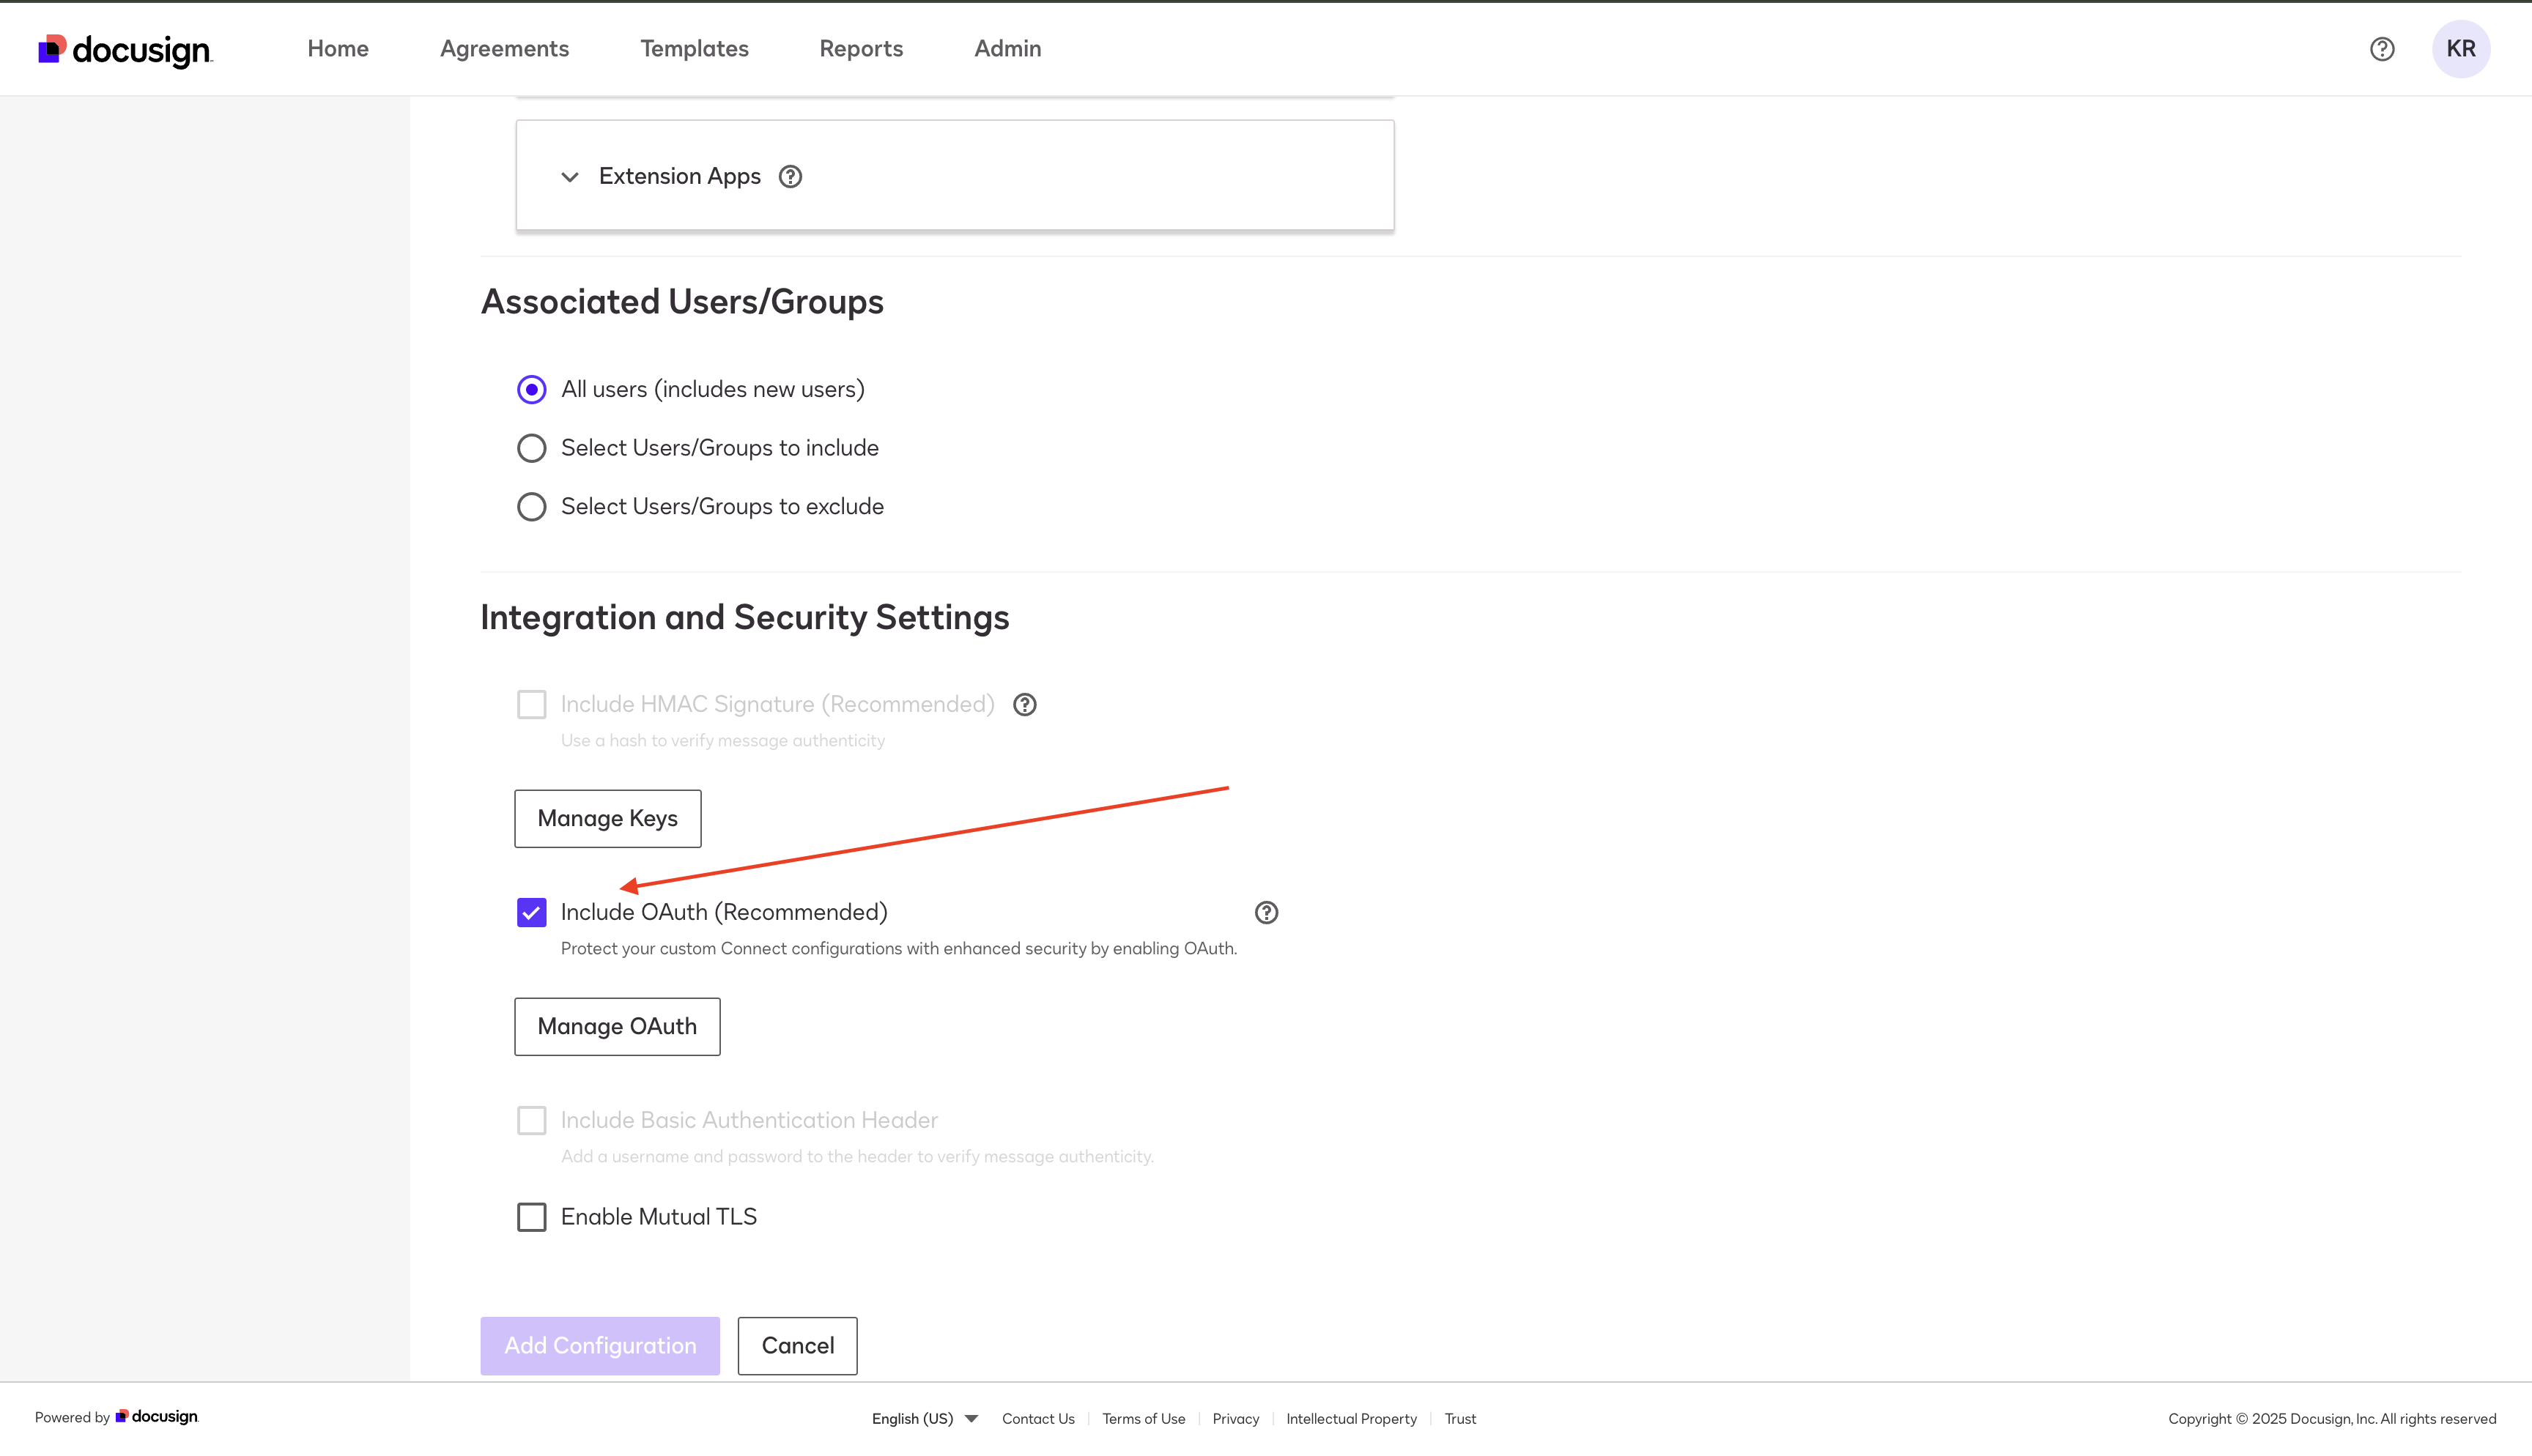
Click "Add Configuration."
OAuth 2.0 Configuration
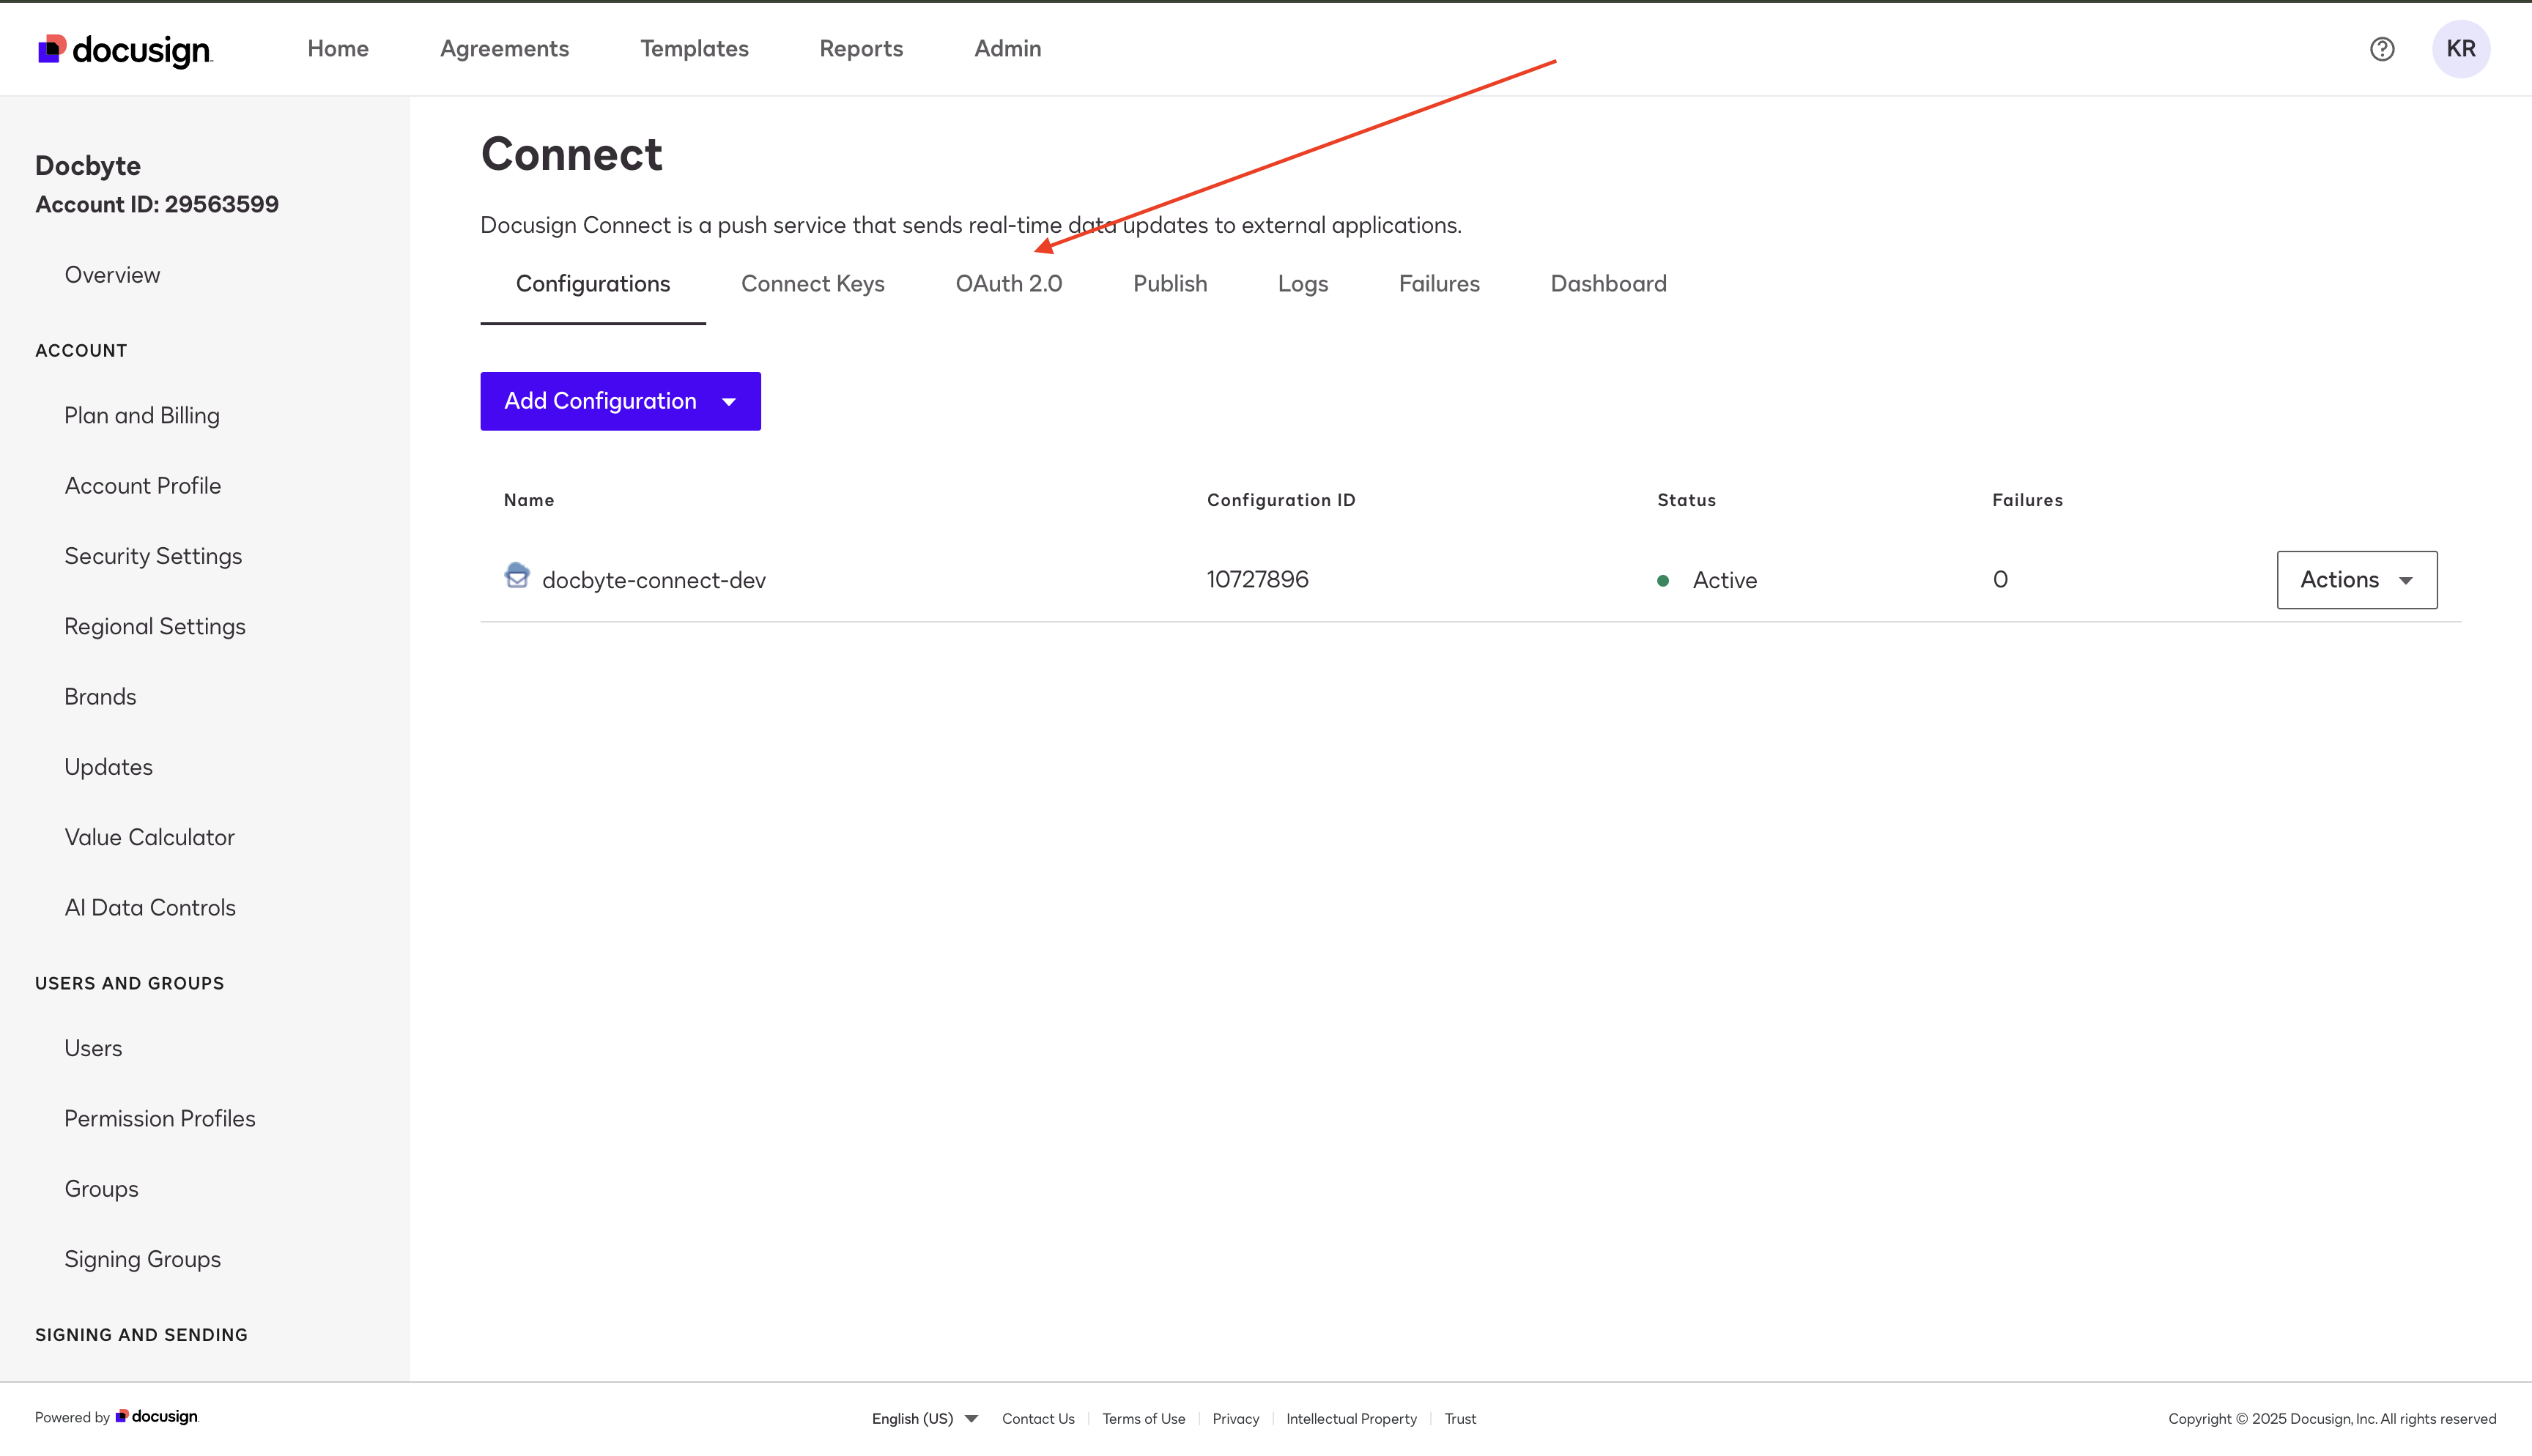
After adding the configuration, you'll be redirected to the Connect page.
Click "OAuth 2.0" in the navigation bar.
Enter the following values (provided by Docbyte): Client ID, Client Secret, Authorization Server URL
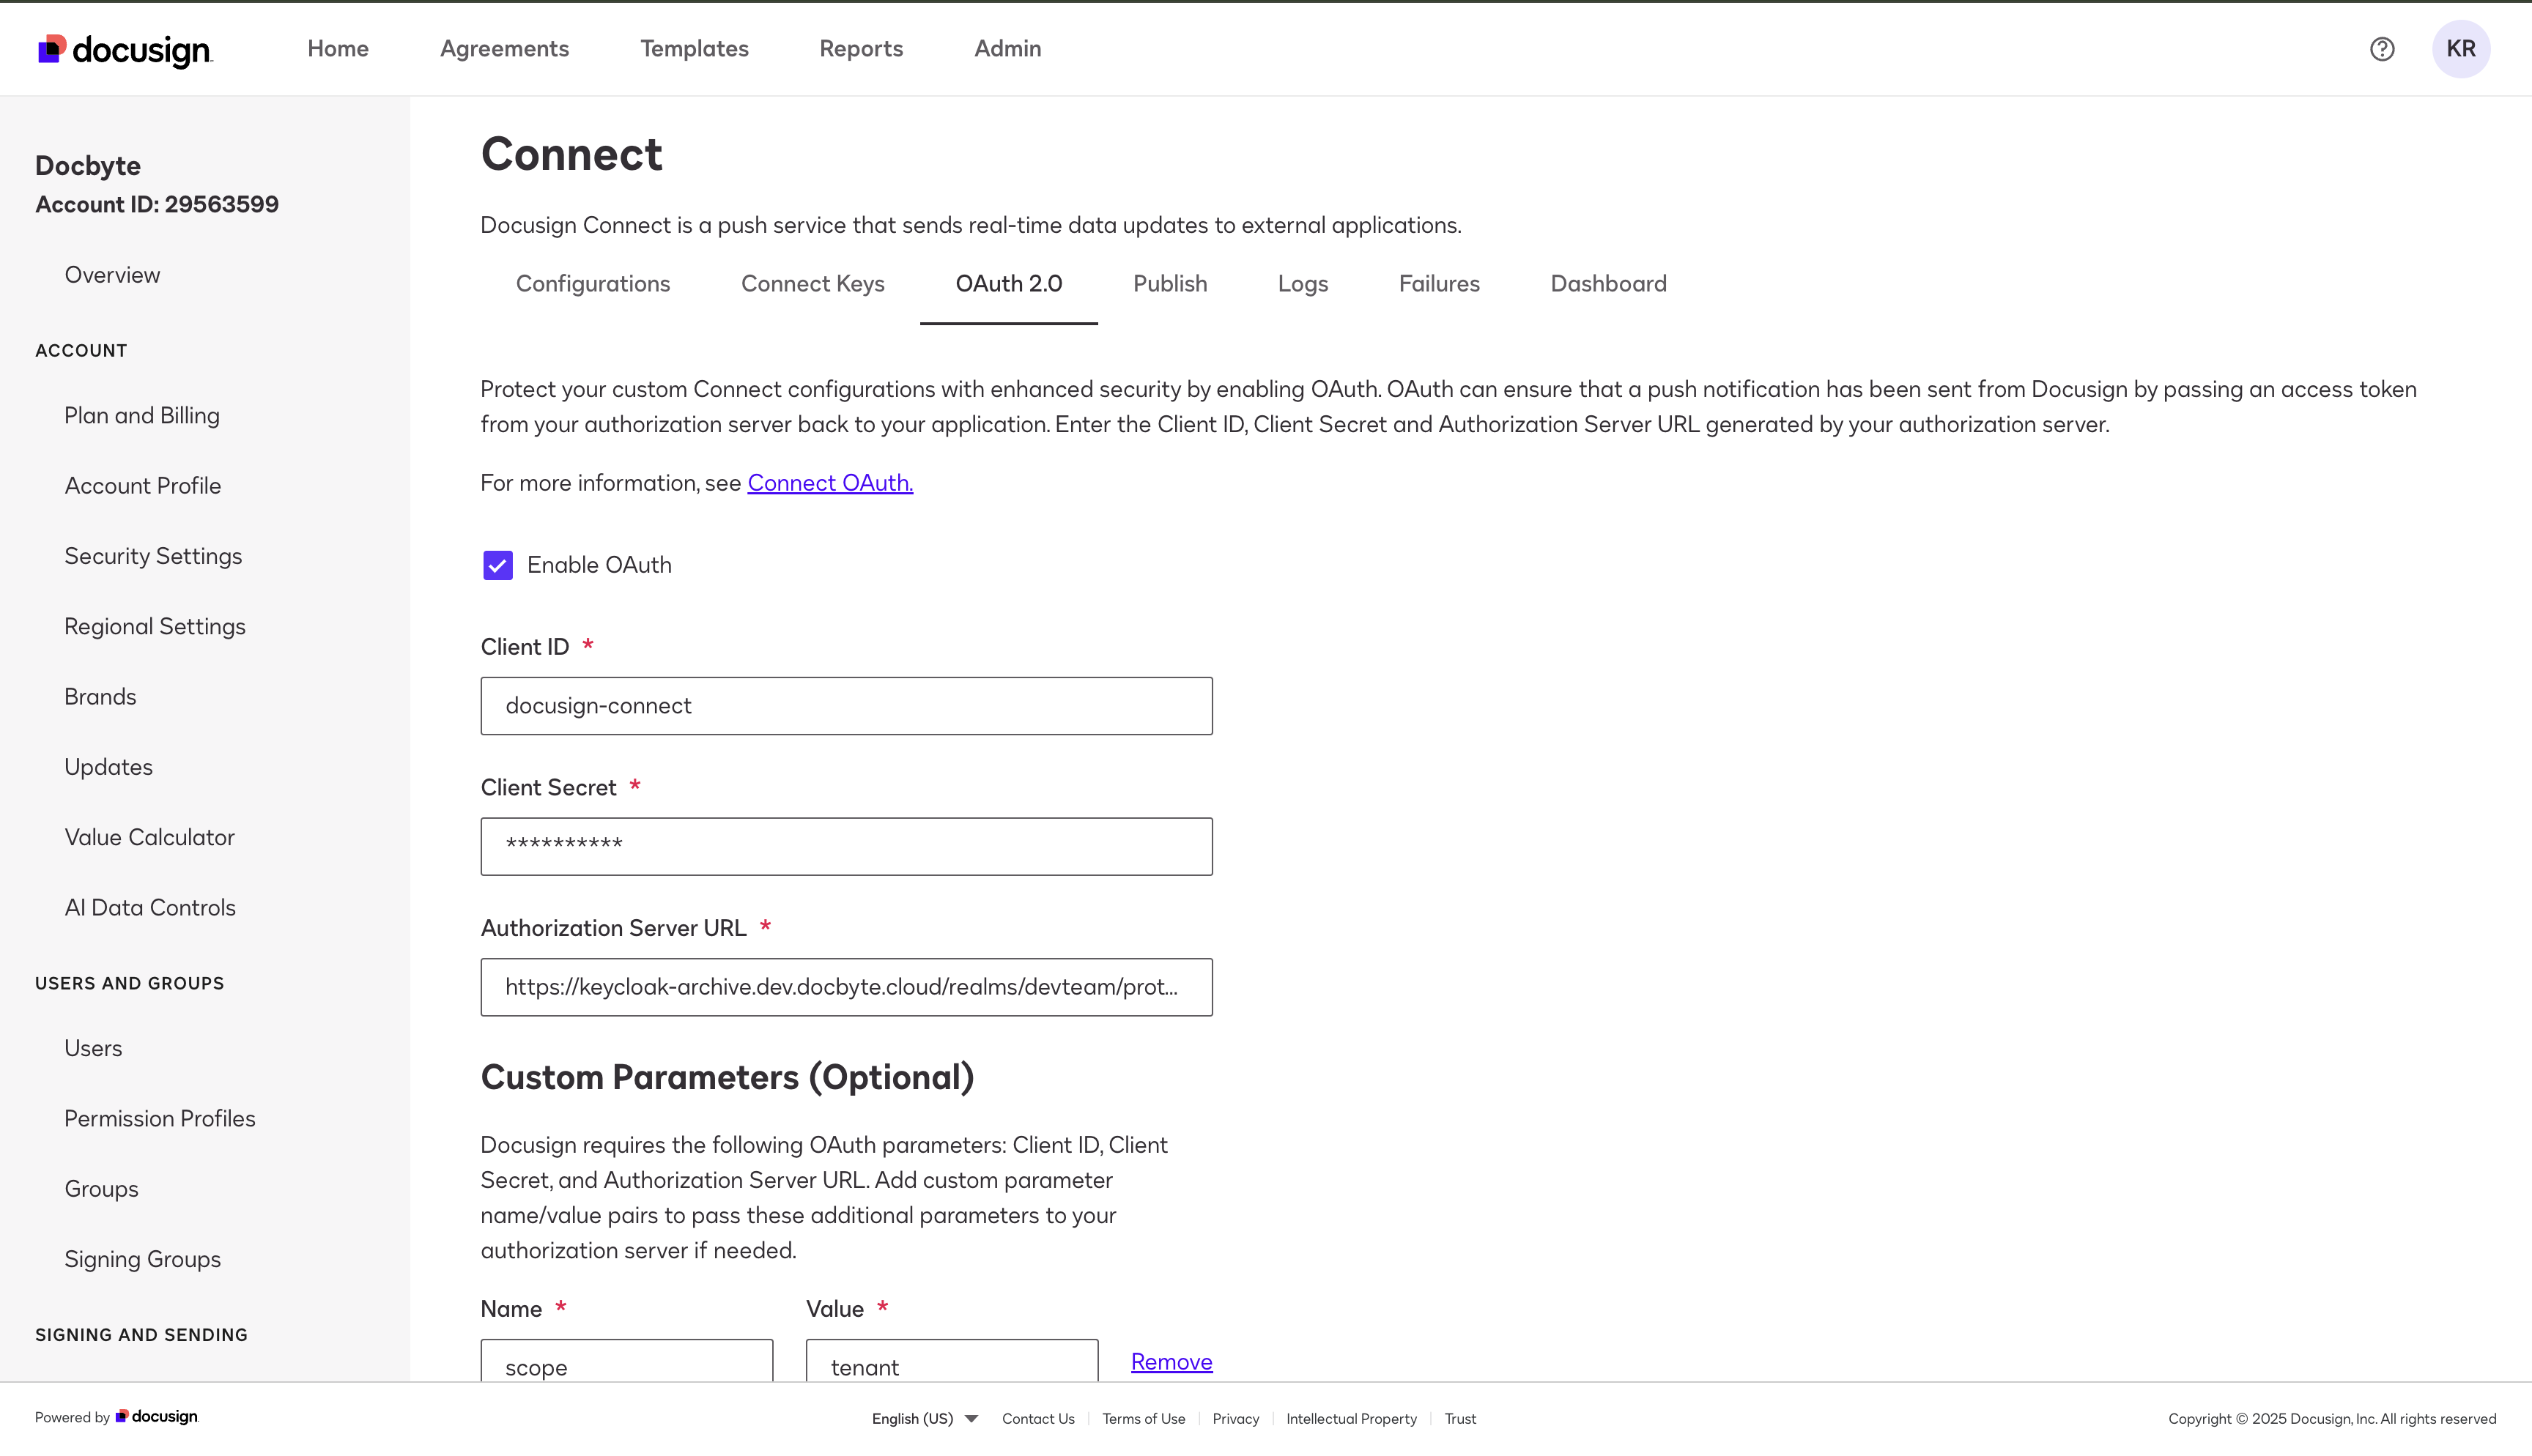
Click "Save."